Available Form Elements
WP User Frontend’s post form feature has different elements to add different types of input fields in your post creation form. So you can easily insert whatever you need. You just have to click on the buttons on the right and the input fields will appear at the bottom of your form. Each form element has some common attributes.
So in this documentation, we’ll break down each form element and explain how they work.
Available Post Form Fields Elements

At first, we’ll talk about the post fields and taxonomies.
Post Fields
- Post Title: This field inserted on the new form and is a mandatory field. The data on this field will be visible as the title.
- Post Body: This is also a default field but using it is not mandatory. You can remove this field from the form if you do not need it.
- Excerpt: Some themes use excerpts or short descriptions in archive pages and relevant post-listing fields. So if your theme has this feature, you can use it.
- Featured Image: With this post field you can add a featured image of your post.
Taxonomies
- Categories: This gives users a dropdown of different categories that you create from the backend. Users can select the appropriate category that applies to their posts.
- Tags: This field allows users to select tags they want to apply to their posts. If your users want to include more than one category, then the keywords should be separated by a comma; just like the backend feature. If there the tag spelling is identical to an existing tag, then they will match up. If the tag keyword does not match with an existing tag, then a new one will be created.
Custom Post Form Elements
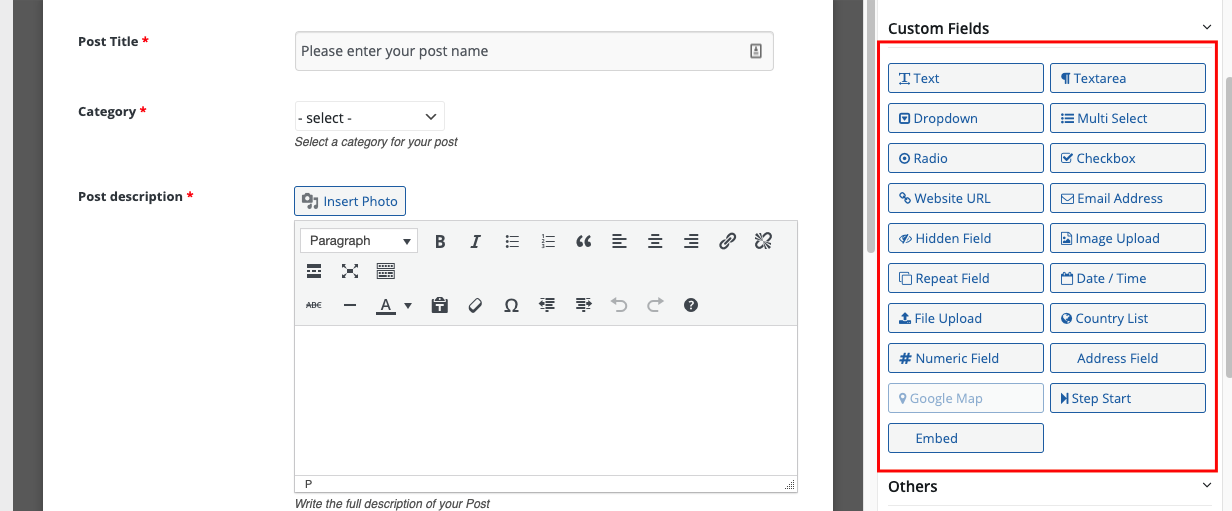
There are many other custom fields, which can make your form more useful. You can add custom fields such as text, text area, drop-down, multi-select, radio, checkbox, URL, Emal and Hidden Field.
- Text: This field creates a text field where users can input only short text contents.
- Textarea: This field creates a text area field where users can input only large text contents.
- Dropdown: This one lets you create list options (combo boxes) from which users can select a single option from the list.
- Multiselect: Multiselect field allows you to create fields that can be used to select multiple options.
- Radio: This field creates radio buttons. Here, users can select any one option from multiple ones.
- Checkbox: The checkbox works like a radio button, but it allows you to select multiple options.
- URL: This custom field creates an text area where you can put only URL or web links.
- Email Address: This field allows you to input email addresses only.
- Hidden Field: This custom field lets you create hidden fields that only the admin or form creator can view and hidden from users.
- Image Upload: This one allows users to upload images.
- Repeat Field: This custom field lets you create repeatable fields where necessary.
- Date/Time: This is simply a date-picker field.
- File Upload: This one allows users to upload files.
- Country List: Using this field you can generate a list where users can select a country according to their requirements.
- Numeric Field: This is an integer field where users can input only numbers.
- Address Field: This is an address field containing relevant address lines including street address, postcode, etc.
- Step Start: This field allows you to create multistep forms. You have to use this field at the beginning of each step of the multistep form.
- Google Maps: This form element allows you to create a Google Maps field. When you put your Google Maps API key in User Frontend Settings. This element will be enabled.
- Embed: This custom field enables the user to embed external content elements including YouTube/Vimeo videos at a specified point in the site or document.
Note: You can add a Read-Only option for custom fields.
Others
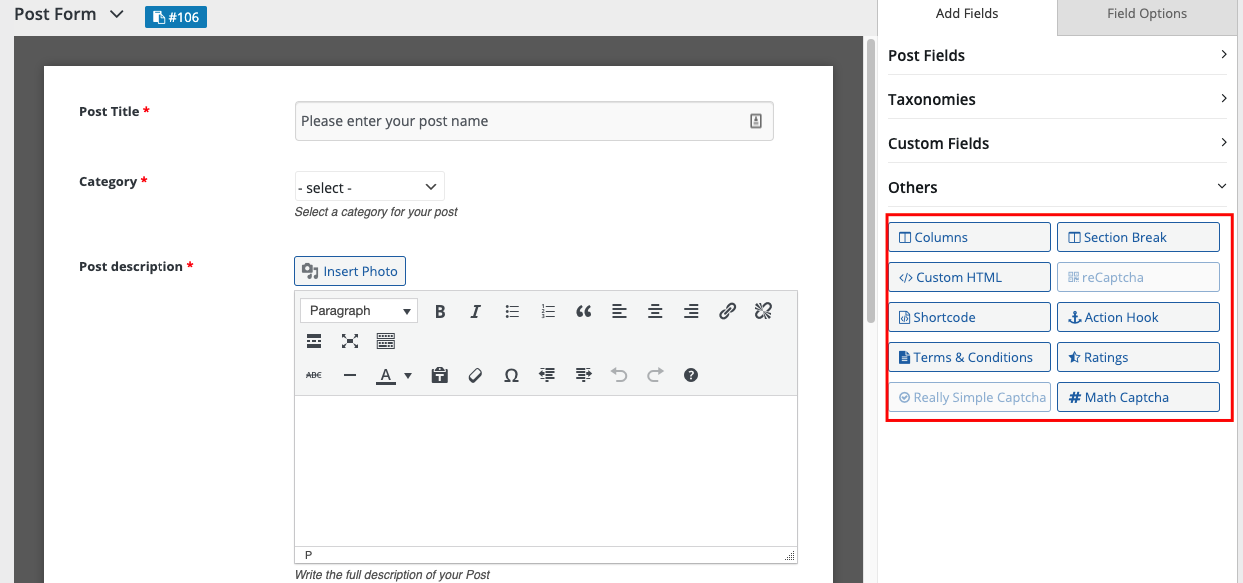
- Section break: This field allows you to create separate sections for your forms with a title and description.
- Custom HTML: This field allows you to input HTML codes so you can design a certain field the way you desire.
- reCaptcha: With reCaptcha, users will need to validate their authenticity by selecting some words or digits from the image or by asking to mark the checkbox “I’m not a robot”.
- QR Code: This field is enabled when you use the QR Code Generator module. It allows users to create QR codes for a number of fields – URL, text, location, SMS, Wifi, Card, Email, Calendar, Phone.
- Shortcode: Here you can add WordPress shortcodes in order to render other functions, pages, or forms.
- Really Simple Captcha: With the simple captcha, users are asked to complete math equations or write down a combination of alphabets/numbers from an image, in order to validate the user’s authenticity.
- Action Hook: In this field, you can add codes in order to create functions in your form that are not present by default.
- Terms & Conditions: This field creates a checkbox in your form for users to ensure they have read any terms and conditions in the form.
- Ratings: With this field, users will be able to rate you in the form of stars.
Math Captcha
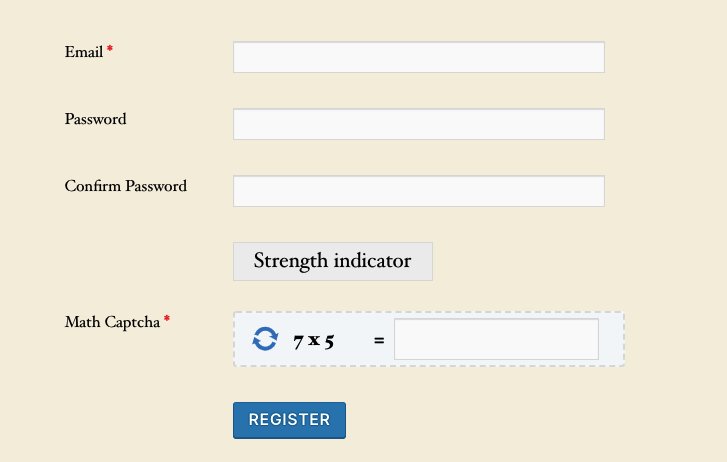
While creating a post form, for extra security, you can use the new Math Recaptcha.
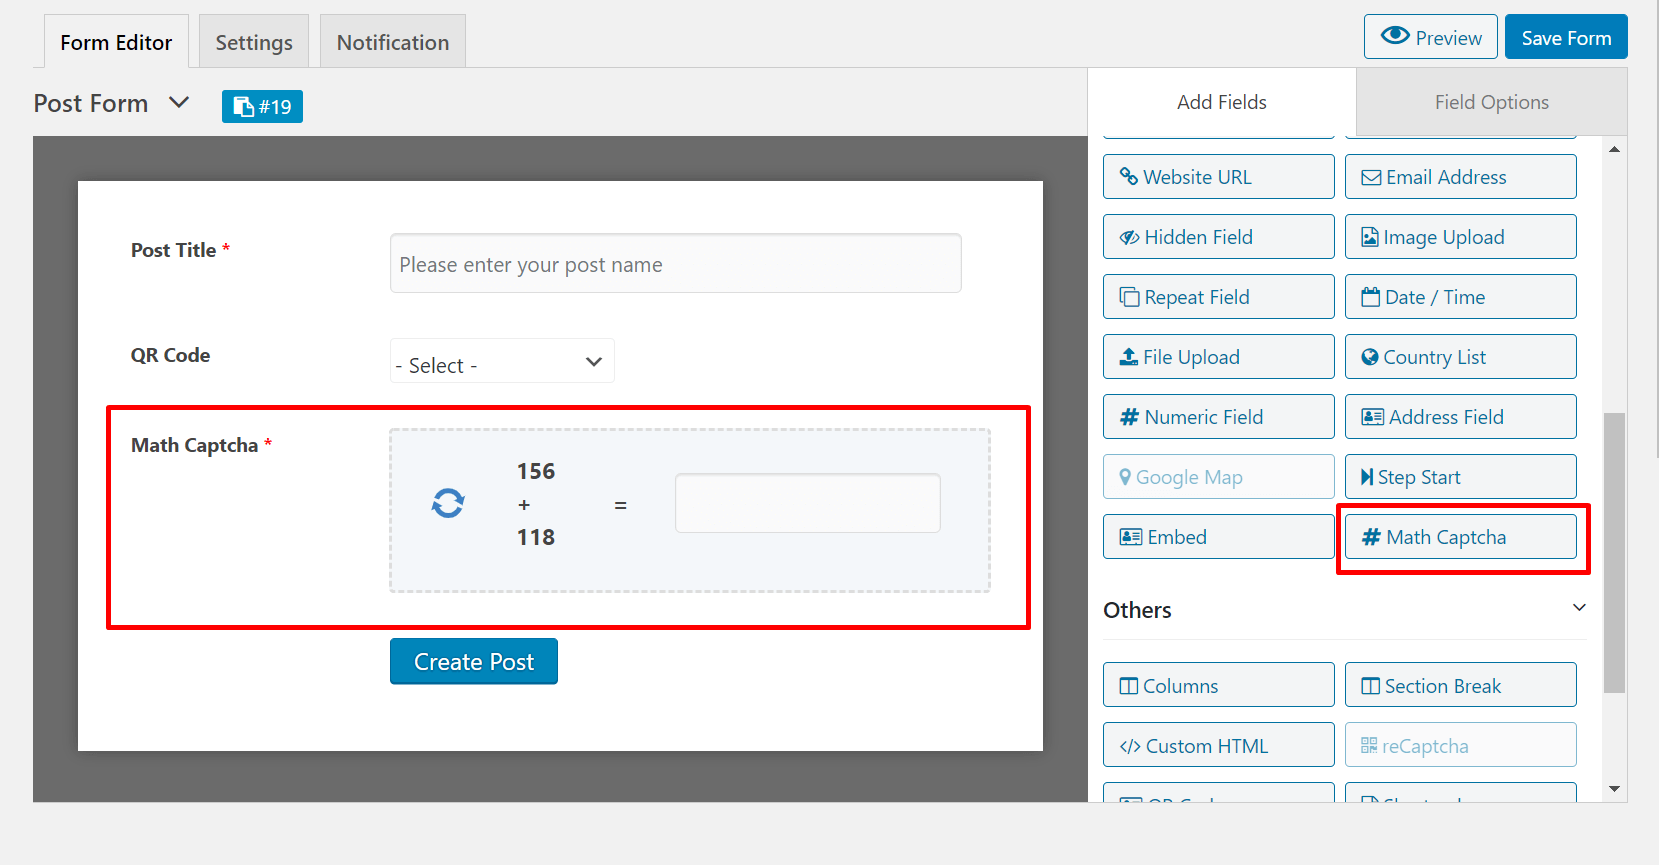
Now, you can easily use the Math Captcha field.
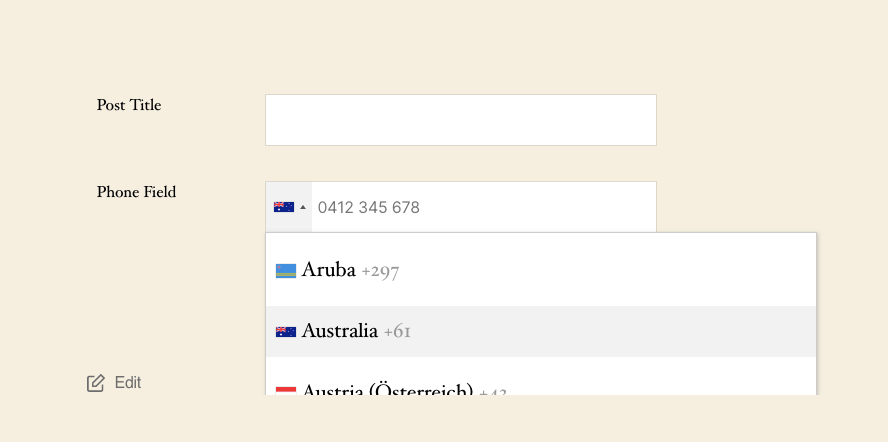
- Phone Field: With this field, user can collect phone numbers of different countries. User can set default countries, include enxclude countries.
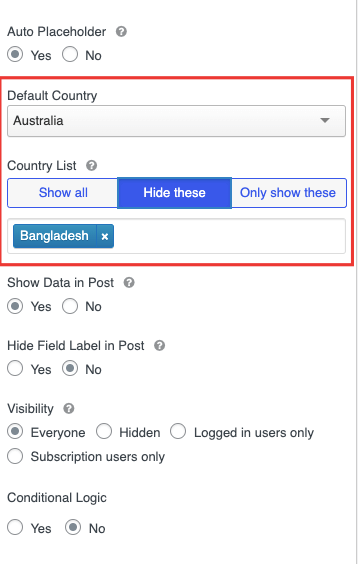
Then users can select phone number of different countries,
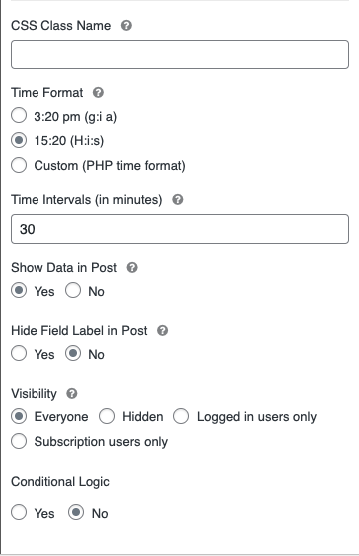
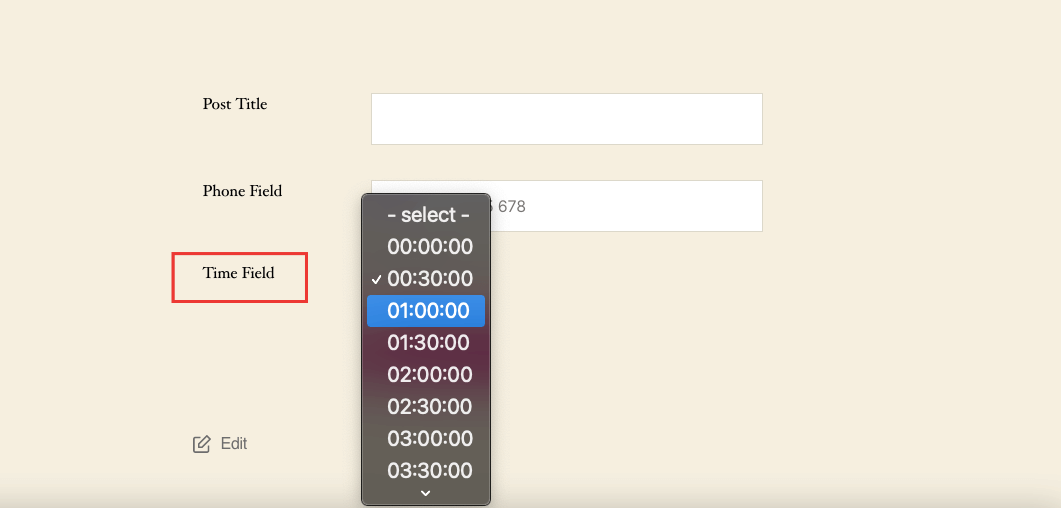
- Time Field: With this field, user can set a time gap for forms. There are three Time Formats, users can choose ny one of them. Custom option is technical PHP time format.
This is how it will look in the frontend. Users can schedule any meetings or do bookings.
That’s it.

