

How to Upload or Embed Playable Audio and Video Files Using Post Forms
With the premium version of the WP User Frontend, you can allow your users to upload or embed any audio or video file from the Post Forms.
Enabling Your Users to Upload an Audio or Video File
Step: 1
To do this, you will have to create a new form or select an existing form. If you don't know how to create a form, then read this tutorial.
Step:2
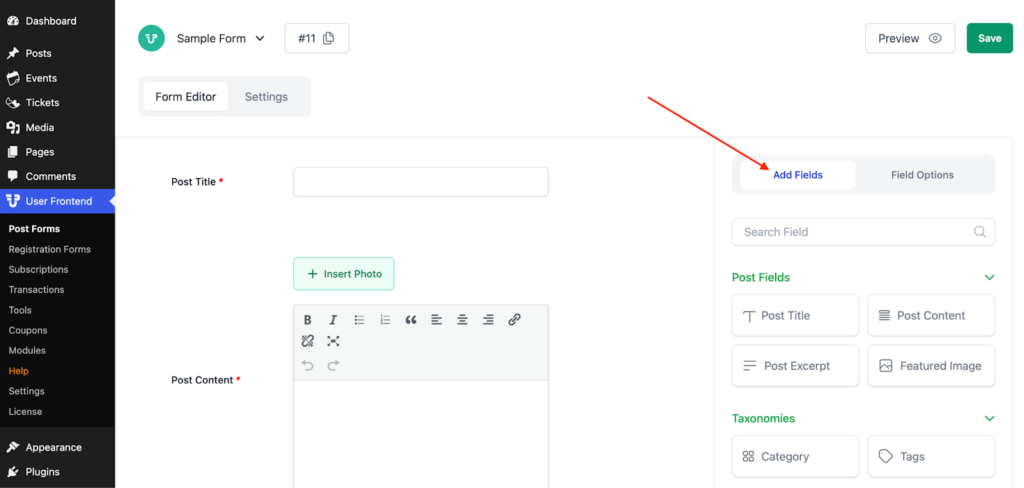
When you are at the form builder, from the “Add Fields,” select the “File Upload” field:
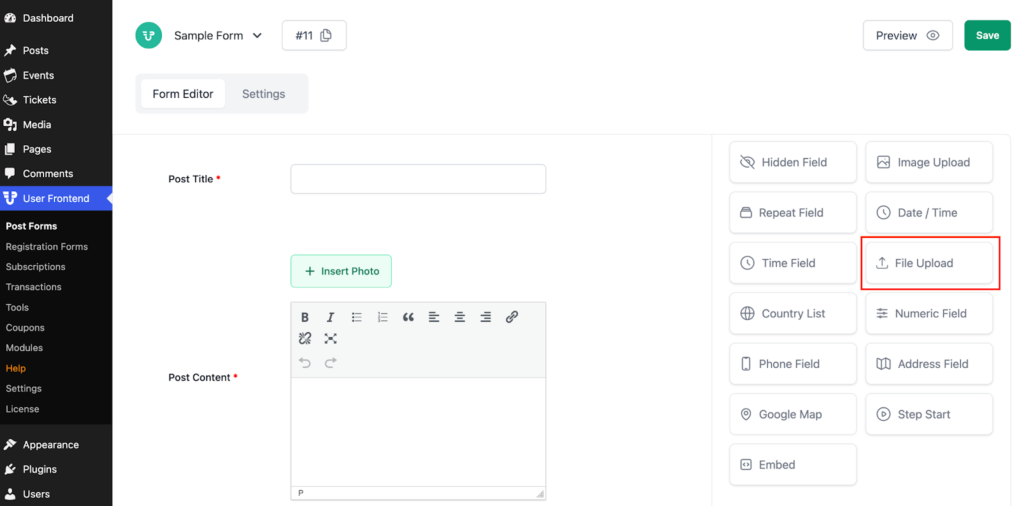
After that, the “File Upload” field will be added to the form you are editing.

Step: 3
Under the “Field Options” tab, you will find two more options:
- File Upload
- Advanced Options
File Upload
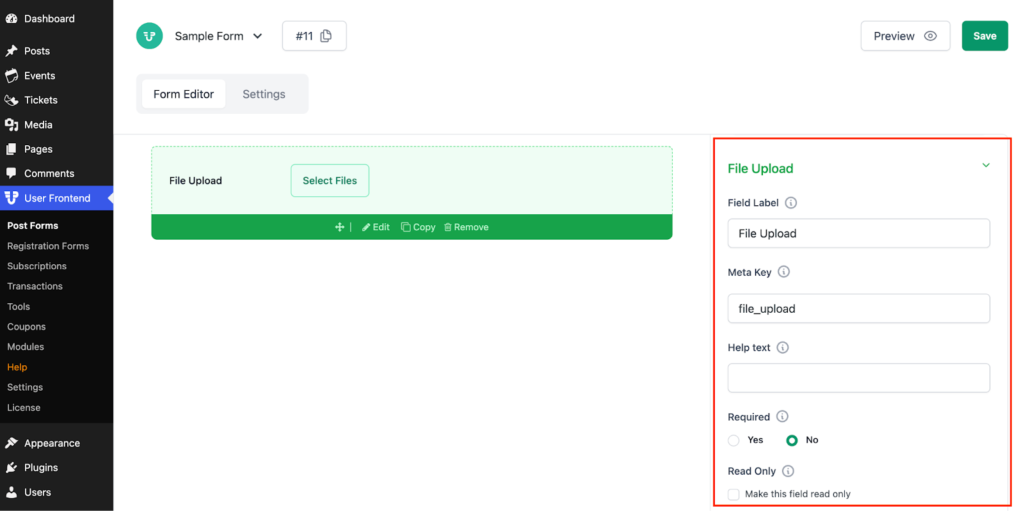
Under File Upload Options, you will get four options. They are:
- Field Label:
You can change the default field label, “Upload File,” to any name. For example, you can change the name to “Upload a Video or Audio.”
- Meta Key:
Generally, the meta keys generate automatically, though you can change the name of the meta key anytime.
- Help Text:
Use help texts to give your users extra information, like which type of file you want them to:
- Required:
Use this field if you want to force your user to upload a particular type of file.
Advanced Options
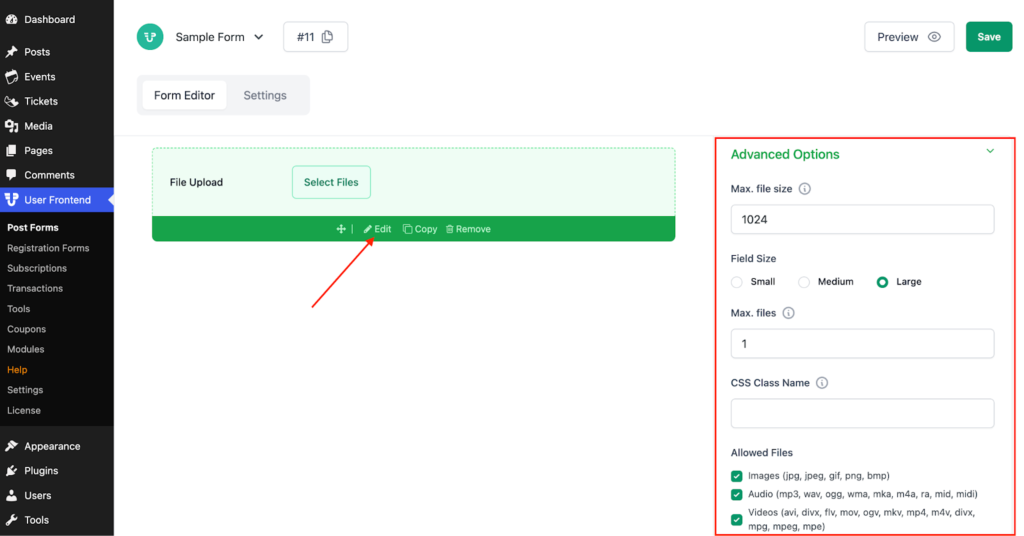
In advanced options, you will find nine more options. They are:
- Max file size: You can set the maximum file upload size limit in kilobytes.
- Max files: Use this option to set the number of files that can be uploaded at a single time.
- CSS class name: Use this option to manipulate cascading styles.
- Allowed Files: With this option, you can specify which type of files your users will be able to upload.
- Make audio or video files playable: Use this option to enable your user to play the audio or video files right after submitting a post.
- Preview Width: With this option, you will be able to change the preview height of a file.
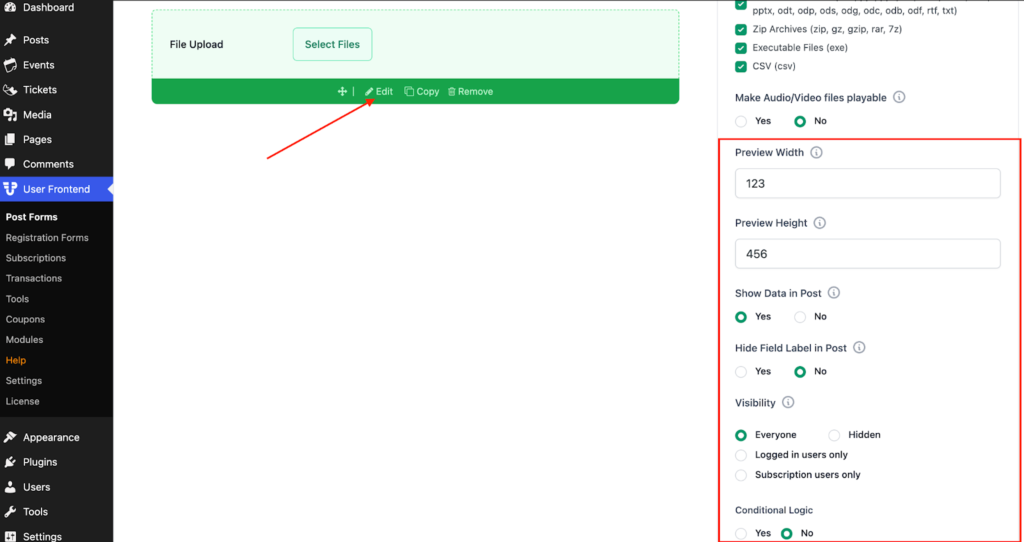
- Preview Height: With this option, you will be able to change the preview height of a file.
- Show data in Post: If you don't want to show the uploaded files in Post, then you can use this field.
- Conditional logic: Use this option to hide or show this field for the selection of another field.
Step: 4
Now, hit the “Save Form” button to keep the changes you have made just now.
How The Field Works from Frontend
After logging in, your user will be able to see the post form:
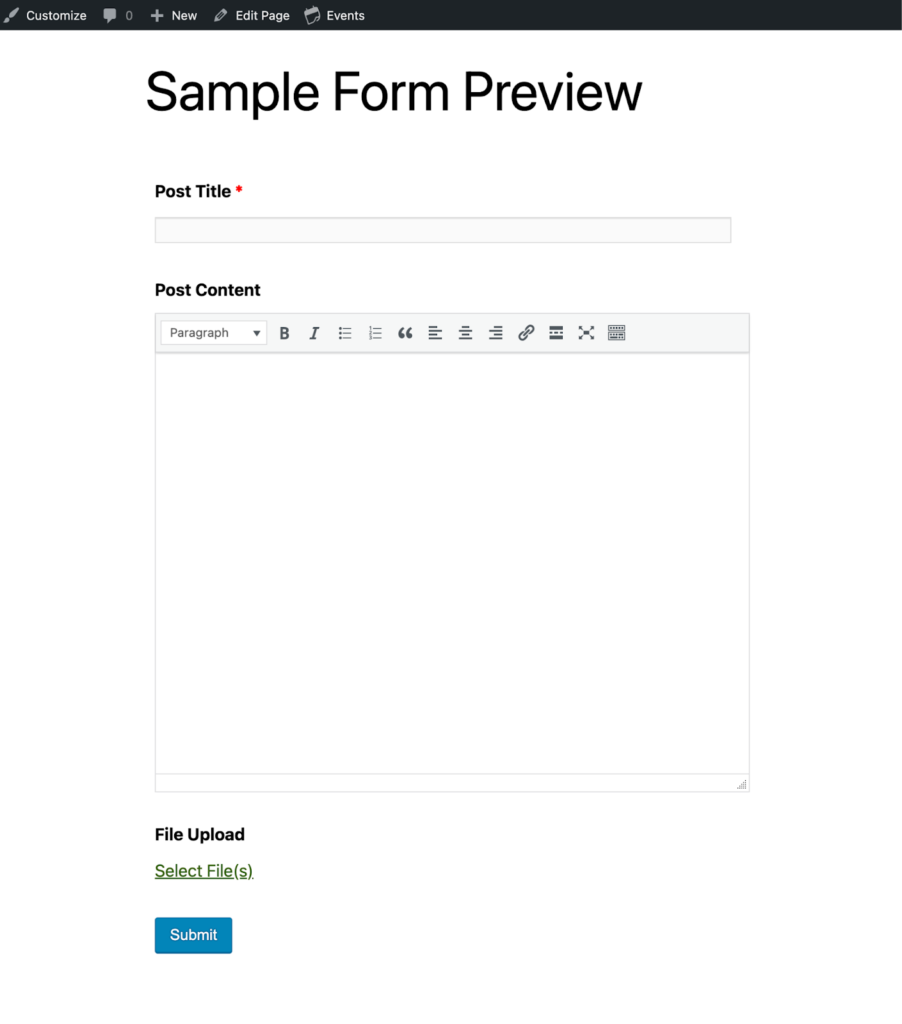
On clicking the “Select Files” field, your user will be able to upload any sort of audio or video file from his PC's hard drive.
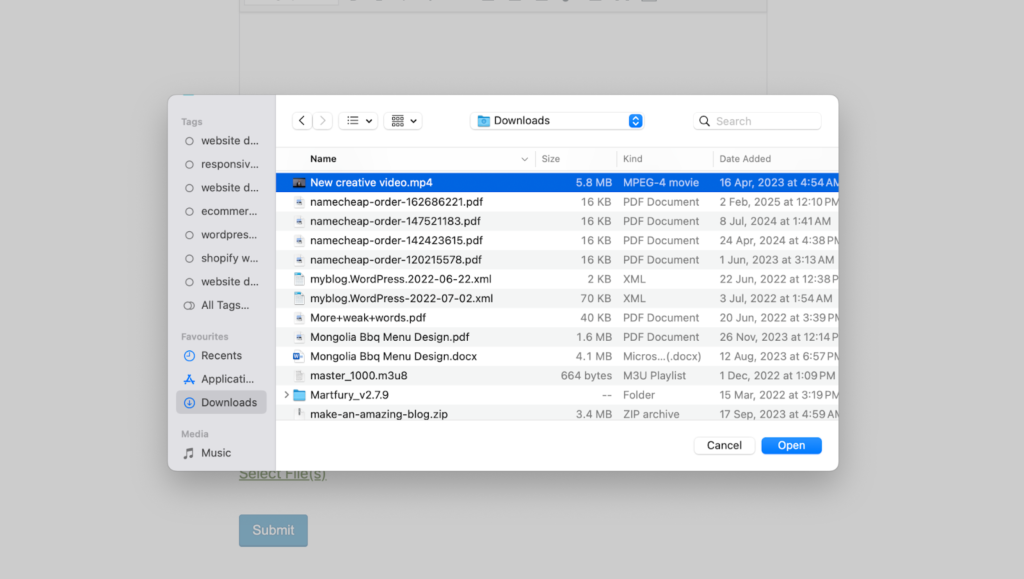
After the file is uploaded to the server, the user has to hit the submit button to post his video.
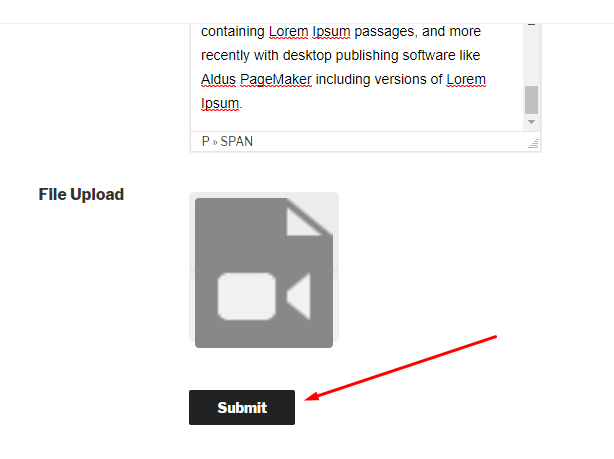
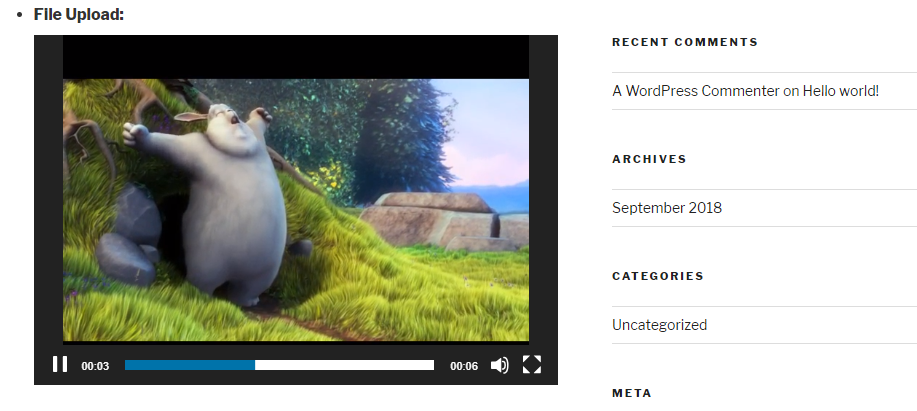
Now, the user will be able to see a preview of the video he or she has uploaded. The user can also play the video if he or she wants to.
Allow the User to Embed an Audio or Video File
Step: 1
To do this, you will have to create a new form or select an existing form. If you don't know how to create a form, then read this tutorial. After selecting a form, you will get the form editor.
Step: 2
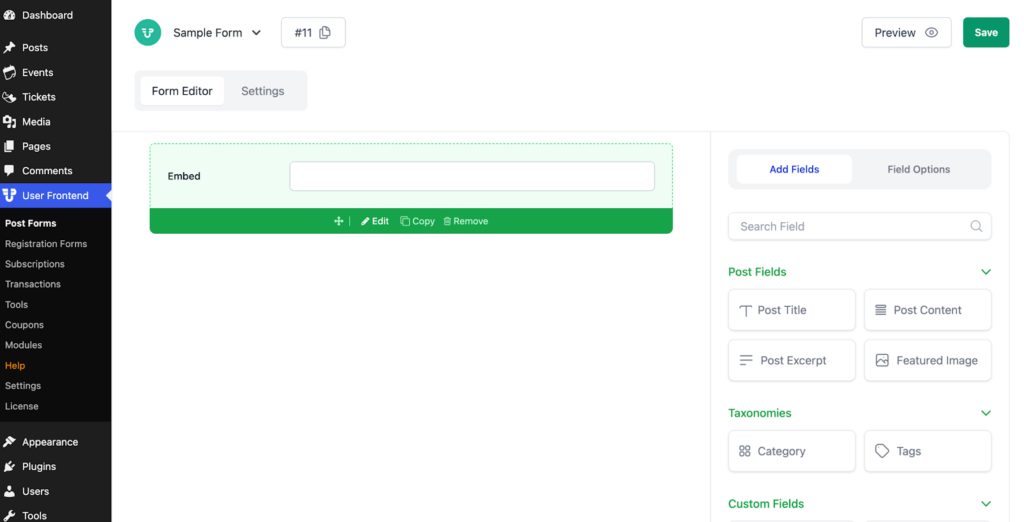
Now, from the Add Fields tab, select the Embed option:
Step: 3
Click on the Edit option to get to the field options:
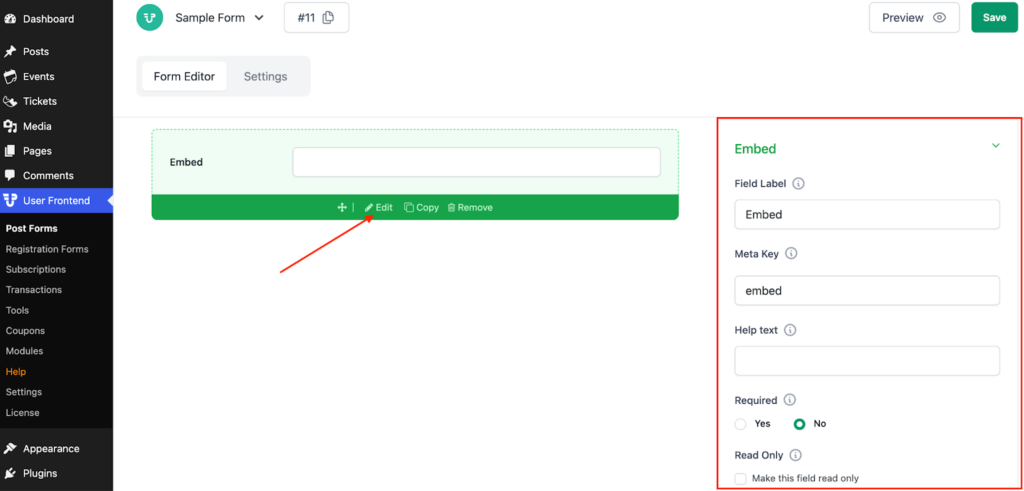
Under the Field Options tab, you will find two more options:
- Embed
- Advanced Options
Embed
Under the Embed option, you will get four more options. They are:
- Field Label:
You can change the default field label, “Embed,” to any name. For example, you can change the name to “Embed a Video or Audio.”.
- Meta Key:
Generally, the meta keys generate automatically, though you can change the name of the meta key anytime.
- Help Text:
Use help texts to give your users extra information, like which type of file you want them to:
- Required:
Use this field if you want to force your user to upload a particular type of file.
- Preview width:
Use this option to give a certain width to the embedded file. This is useful when your user is going to preview the post upon submission.
- Preview height:
Use this option to give a certain height to the embedded file. This is useful when your user is going to preview the post upon submission.
Advanced Options
In advanced options, you will find nine more options. They are:
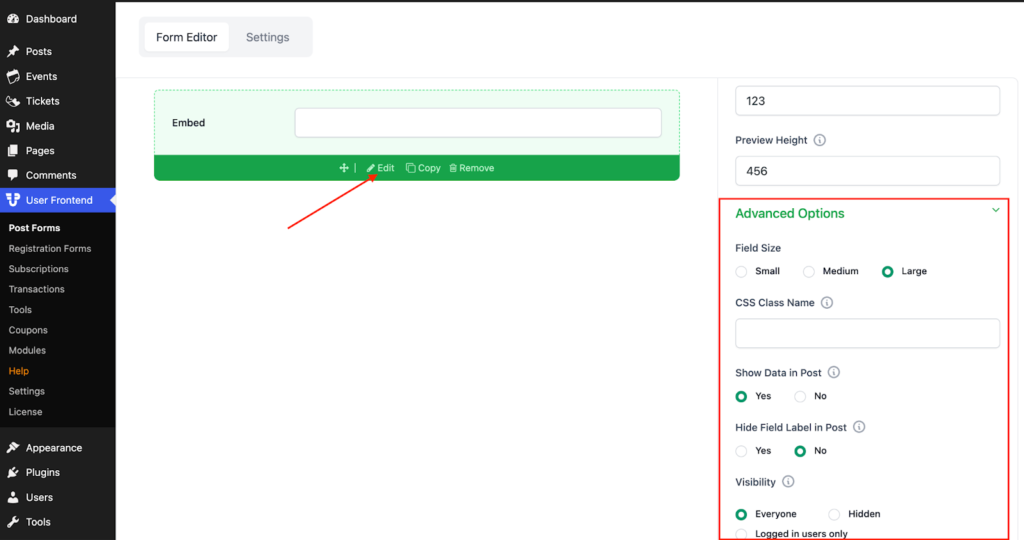
- CSS Class Name: Use this option to manipulate cascading styles.
- Show Data in Post: If you want to show the uploaded files in the post, then you can use this option.
- Visibility: Make this field hidden or visible, whether to everyone, logged-in users, or only subscribers.
- Conditional Logic: Use this option to hide or show this field for the selection of another field.
That's all about uploading and embedding a playable audio or video file in WP User Frontend Pro.
Step: 3
Click the Save Form button to save the changes.
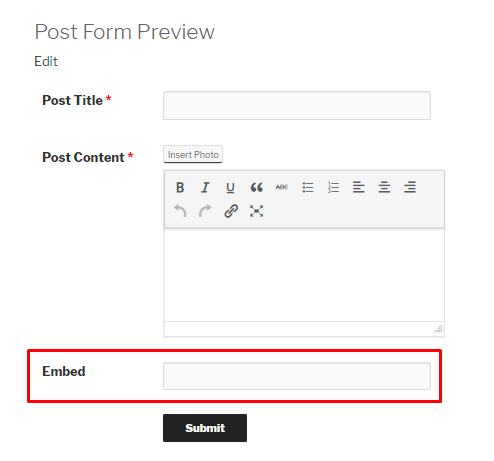
How The User Will Experience The Field from Frontend
This is the frontend view of the field:
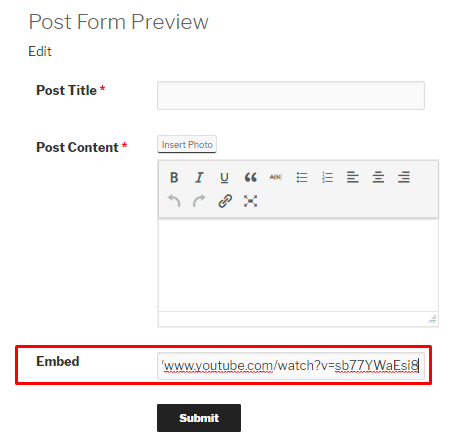
The user only needs to copy and paste the URL of a video into the field:
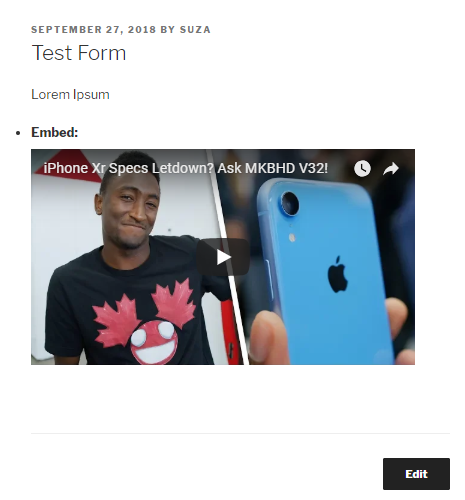
On submission of the form, the user will be able to view the preview, like below:
And that's all about uploading fields and embedding fields in the WP User Frontend.