

How to Activate the License of WP Project Manager
A- A+
After activating the plugin, you will see a notification to ‘activate the license.' The license activation is only required to receive paid features, automatic updates, and support.
⚠Please do not activate the license if you are just testing the plugin on your localhost or staging server.
If you are done with testing the plugin and are sure to use it on your live server, only then should you activate the license.
Steps to activate the license of WPPM
- If you are not already logged in to your admin panel, please log in first.
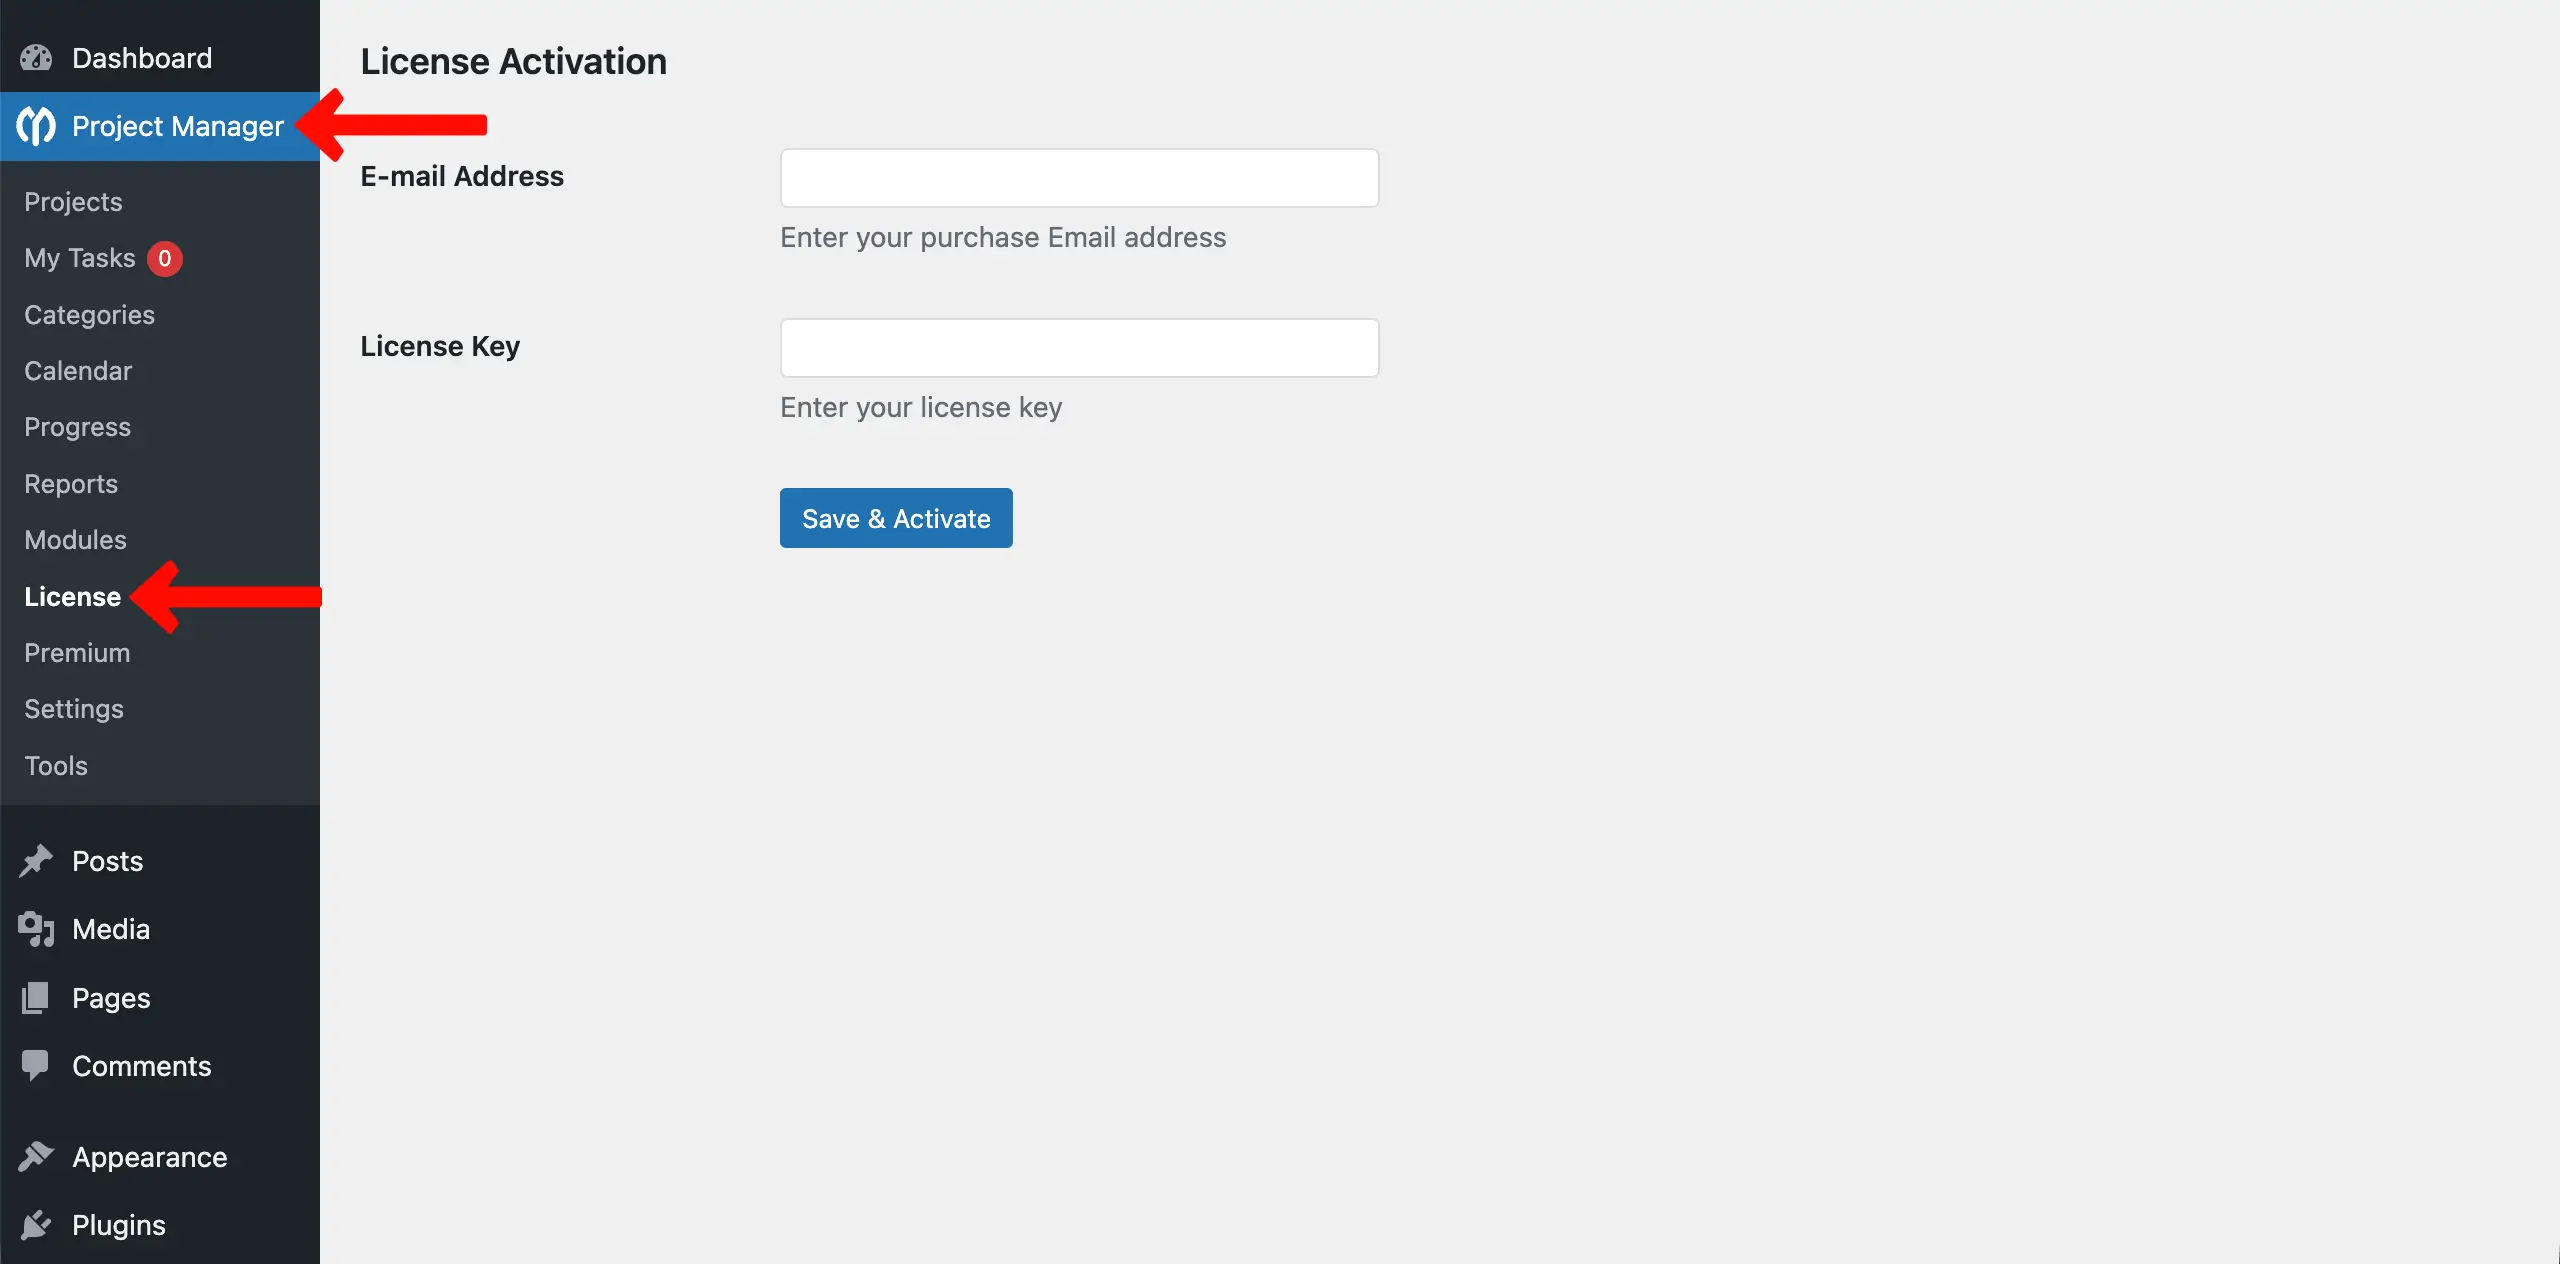
- Go to Project Manager → License. You will see two fields for your email and license key.
- You will find the license keys on your weDevs Account Dashboard.
- Write the email address you used to purchase the plugin and copy-paste the license key from the weDevs Dashboard.
- Click Save and Activate.
If you have used the license key before anywhere, then you need to open a support ticket asking to reset the key. Deleting the activation from your site is not sufficient.
Please note that,
- After the expiry of the license key, the pro version of the plugin will automatically be deactivated.
- You will be viewing a counter just before one month of the expiry, indicating that you need to renew the license key.