How to Install any WordPress Plugin
How to Install a WordPress Plugin
After entering to the world of WordPress, one of the first things you need to know is how to install a plugin.
There are a few ways how you can install it in your website. Let me guide you through the process:
a) Install from WordPress Dashboard
This is the easiest way of installing a plugin in your website. You need to log into your WP site and go to the ‘plugin’ section. Then click on ‘Add New’ which will take you to a search box with hosts of plugins in it.
Type the name of the plugin you are looking for in the search box. As it appears on the list, click on “Install Now” button and then select “Activate Plugin” option from the next page.
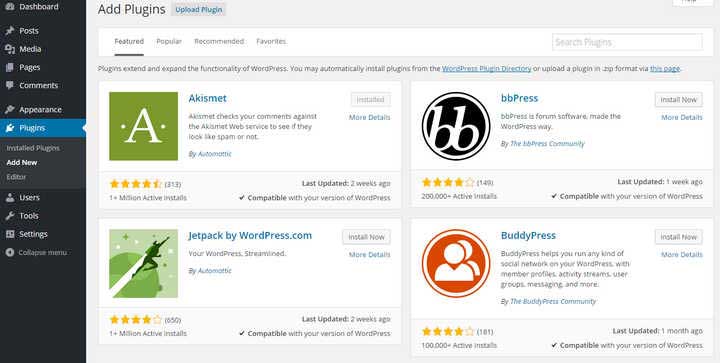
After you are done with the activation, visit the ‘settings’ panel to configure the plugin. It is a crucial stage because in many cases the plugins do not work properly simply due to lack of configuration.
Let me sum up the user flow-
Plugins —> Add New —> Search Plugins —> Install Now —> Activate Plugin
b) Install with a Downloaded / .zip File
Not every time you will find your desired plugin in the WordPress dashboard. You might have to download it or receive it from a different source. In that case you have to upload the .zip file to the WordPress dashboard and install it from there. Why did we mention .zip file here? Because so far WordPress supports this file format only to upload a plugin or theme.
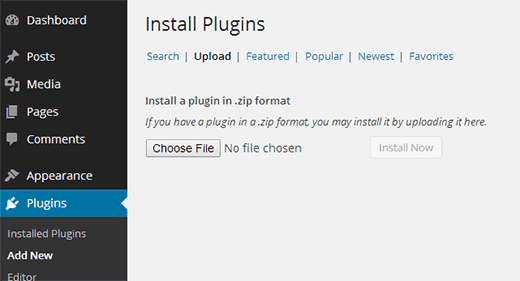
Click on the “Upload Plugin” option and select the .zip file from your hard drive.
To summarize, you just need to follow these steps-
Plugins —> Add New —> Upload —> Choose File —> Install Now