


How to Create a Nonprofit Website In WordPress & Receive Donations
Nonprofit websites are built with the sole intention to help people, communities, and organizations. In fact, it can directly contribute to the welfare of people's lives by helping them raise donations & funds for a noble cause. But not just for raising funds, nowadays people might want to create a nonprofit website for different other reasons too.
Creating a nonprofit website performs an important role in bettering your organization to achieve goals
Themeisle
However, for the last year, the world is suffering from a global pandemic by the name Covid-19. People are dying, losing their jobs, the world economy has collapsed. Overall, it is so far the worst & disastrous year that one can ever think of.
Now in order to help the poor in their tough times, and to support them with food to encourage them to stay at home, many organizations are raising funds and more using different nonprofit websites. For instance, nowadays many people are simply raising funds, collecting donations, participating in campaigns, taking polls, and more.
So if you're looking to create a nonprofit website and help people in need raising funds or collecting donations, then you can easily do that using WordPress & WP User Frontend collaboratively. Because, it is easy, time-efficient, and more effective. Moreover, you can bring all the latest innovations to your website within a quick time.
So without wasting any more time let's get into this tutorial of creating a nonprofit WordPress website that can receive donations.
Keep Reading😊
Why WordPress is The Perfect Platform to Build Your Nonprofit Website

Well, a question may hover around in your mind that ‘Is WordPress the right choice to build a nonprofit website'?
Well, WordPress is currently the most popular CMS that can easily encourage anyone to create any type of website using its available resources (Plugins & Themes). That is also the reason why WordPress is empowering over 60% of website owners worldwide that is used for content management.
So you can imagine how many people are actually using WordPress as their content management system.
Now for your convenience, let's figure out shortly why WordPress can be helpful & most effective due to the following points:
- WordPress has a great admin control
- It is a complete SEO-friendly CMS platform
- 100% mobile responsive
Now let's quickly find out some easy steps on how to create a nonprofit website for receiving donations with WordPress & WP User Frontend.
Create a Nonprofit Website With The Donation Accepting Opportunity

Now in this section, we'll show how to build a nonprofit WordPress website to receive donations step by step. So, in order to learn it, follow the instructions below.
1. Select a Domain Name
For building a website your first and foremost task in line is to choose a catchy and unique domain name for it. Well, in many cases, the title of your website can really matter. So you must be careful while selecting the name for your nonprofit website.
- Make it easy to remember and pronounce
- Keep a short and precise name (For example, www.wedevs.com)
- Have it easy to type (Avoid using hyphens or numbers)
2. Purchase a Reliable Hosting Plan for Your Nonprofit Website
The hosting is the storage where the website’s directory, files, contents are stored.
After selecting your desired domain name, now it's time to purchase a hosting plan. You can easily find several web hosting service providers with their various plans. Pick the one that's suitable for your nonprofit website.
Related article: Top 15 reliable WordPress hosting service providers that you can choose for your nonprofit site
3. Installing WordPress (It's Always Free)
After choosing a domain name & hosting plan, now it's time to install WordPress. There are plenty of available tutorials that you can follow to install WordPress.
Note: In case you want to install WordPress on your localhost for testing purposes, you can follow this guide.
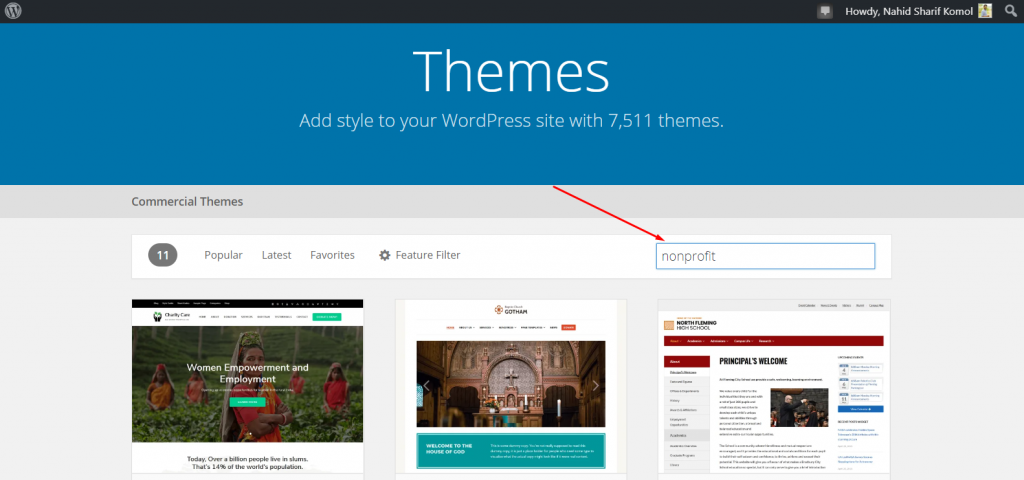
4. Pick a Suitable Theme
Now it's time to select a theme or pre-designed template for your nonprofit website. Luckily, WordPress provides you to choose from its wide range of themes collections. So it's totally hassle-free & easy when it comes to choosing a theme for any WordPress site.
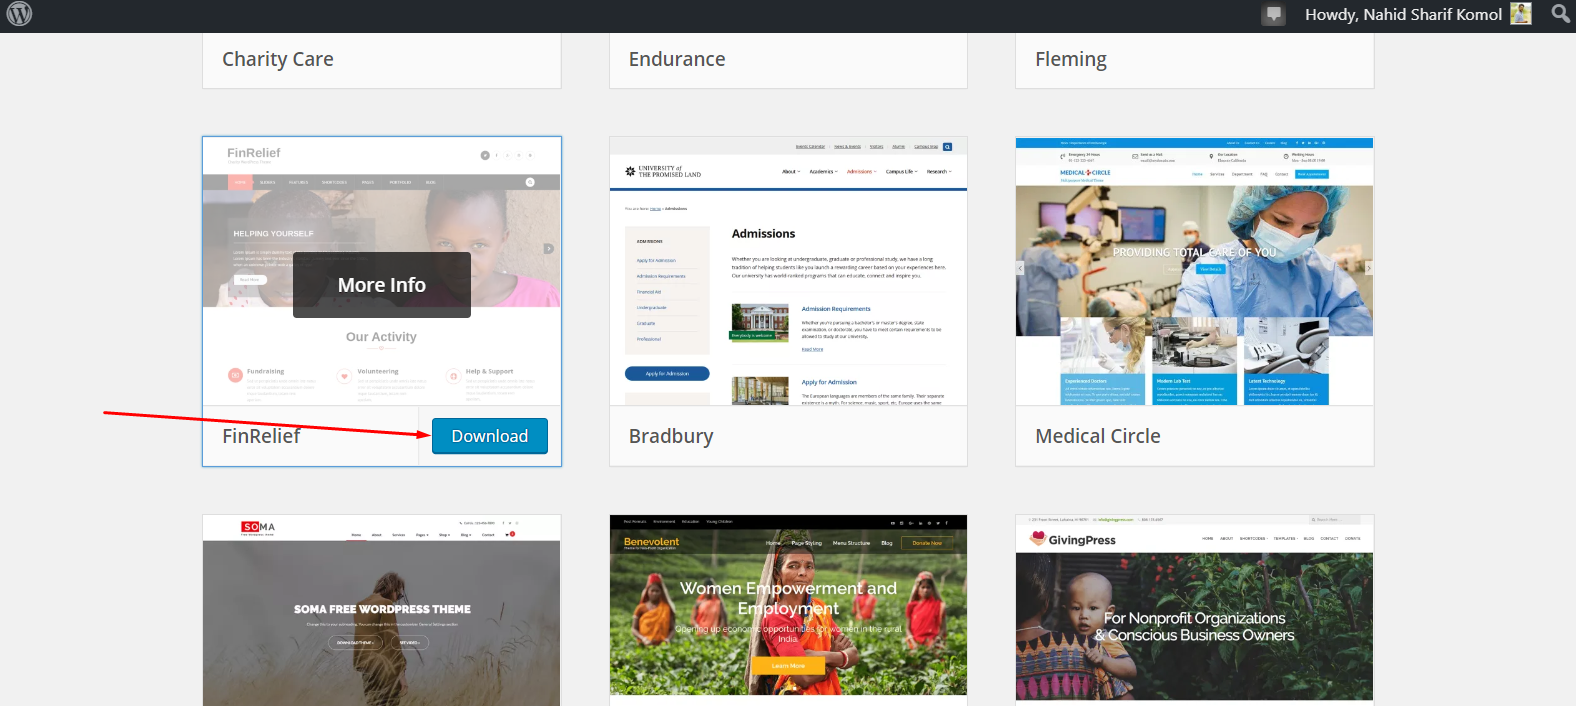
You can either buy a premium theme or if you're thinking to use a free one, you can directly search it on WordPress.
Next, simply download the theme that you like.
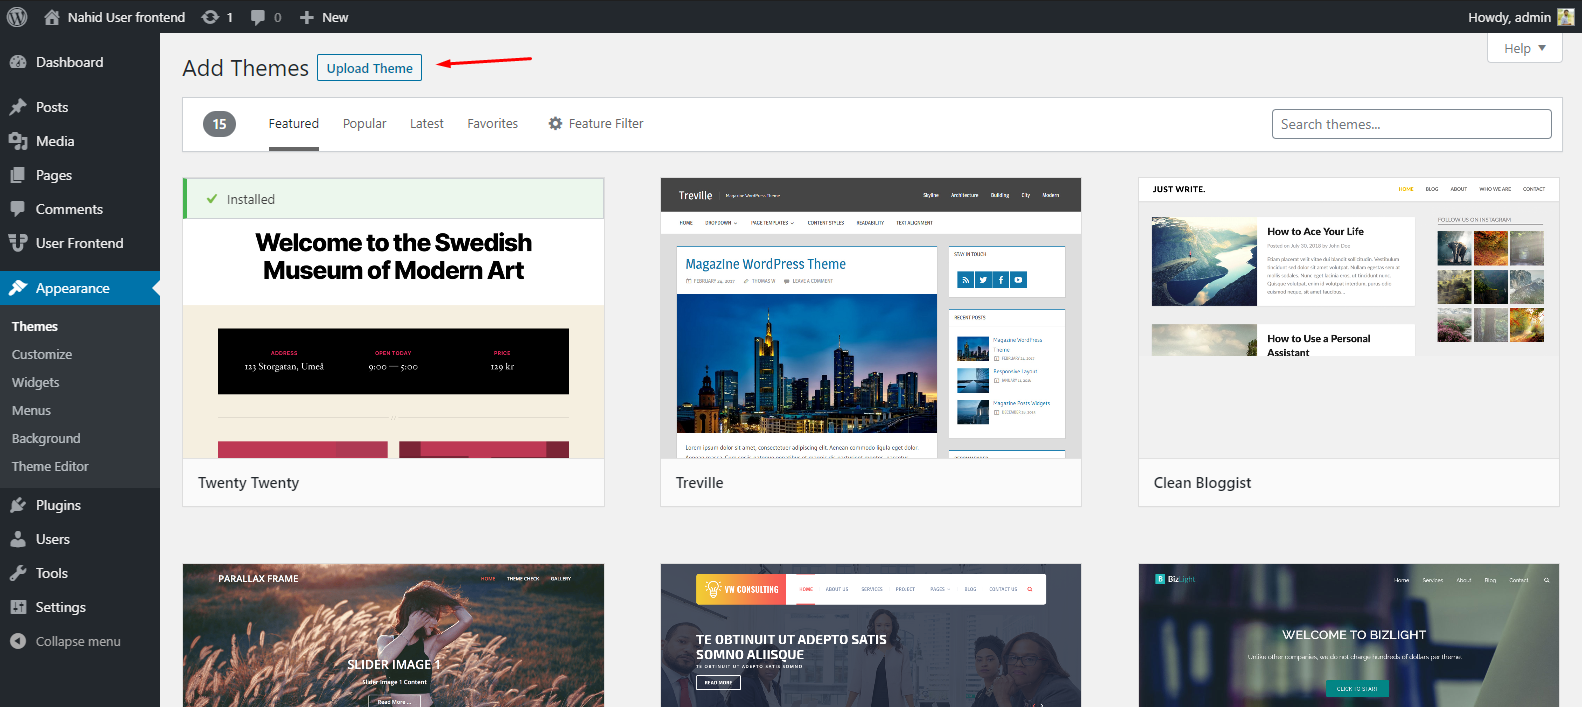
And then just simply upload it. That's it!
5. Set Up Required Pages For Your Website
After getting & installing all these essential things for your WordPress site, now you need to set up your website pages. As you're building a nonprofit website, so make sure you have researched well on this topic and how a webpage of a nonprofit website should look like.
For example:
- Home Page
- About Page
- Service Page
- Donation Page
- Gallery Section or portfolio
- Contact Us Page, etc.
You can follow these common structures, to begin with, later on, based on your needs you can change & improve your website look if you want. But the above format is very basic. So you can try it for your site.
6. Install WP User Frontend to Enable Frontend Donation Option for Visitors
Well, if you have gone through the above steps then your website is now fully operational. And now you'll need a plugin that will enable you to add a donation receiving feature on your website for the visitor from the front end. So to do that, WP User Frontend is needed. This plugin lets you control and manage the post submission or request right from the frontend without needing to access the backend. In this case, it will allow the visitors to register to donate from the front end.
Important Note: Before installing WP User Frontend, make sure that you are using the updated version of WordPress. It will help you to use all the updated features of WP User Frontend on your WordPress site.
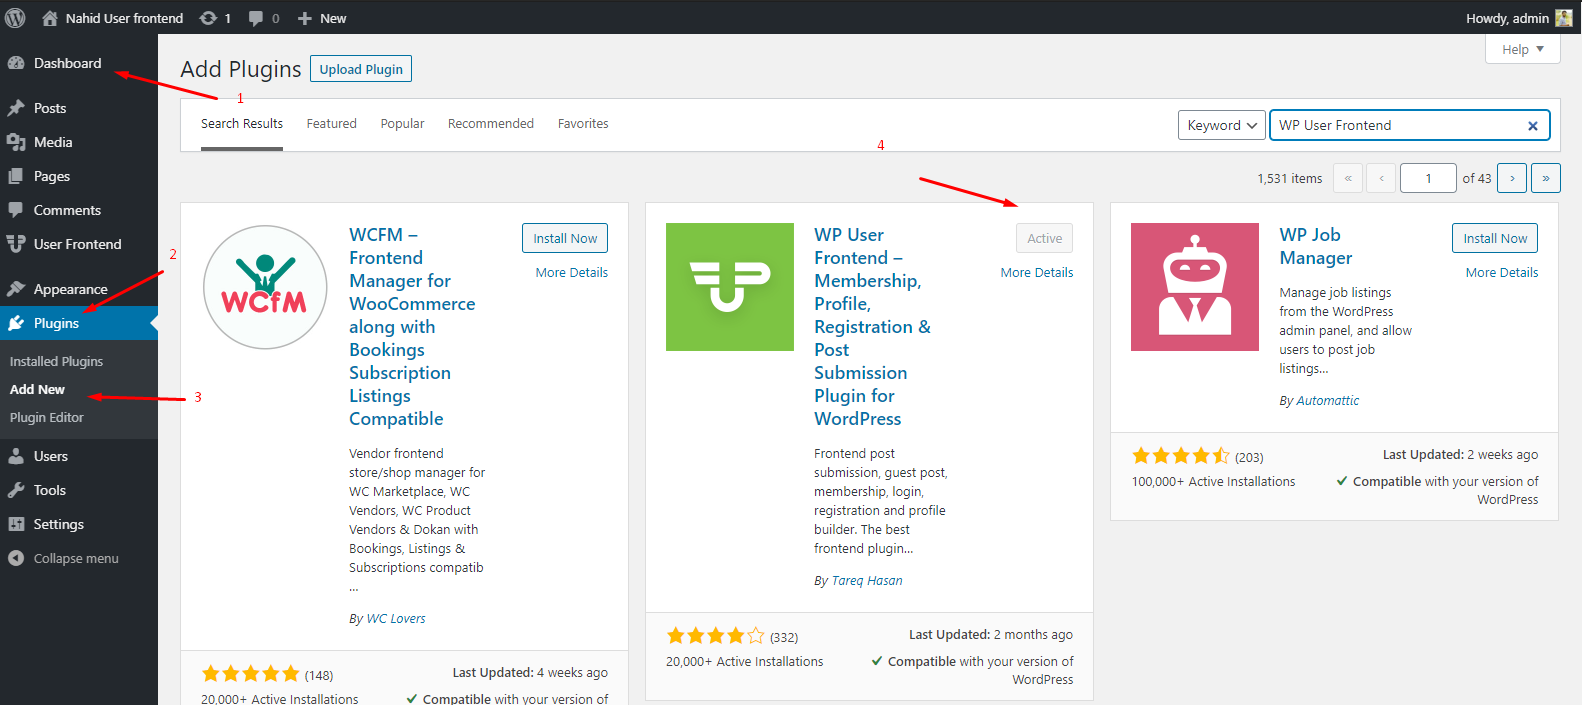
Now to install WP User Frontend, navigate to WP Admin> Plugins>Add New Plugin>WP User Frontend>Install>Activate
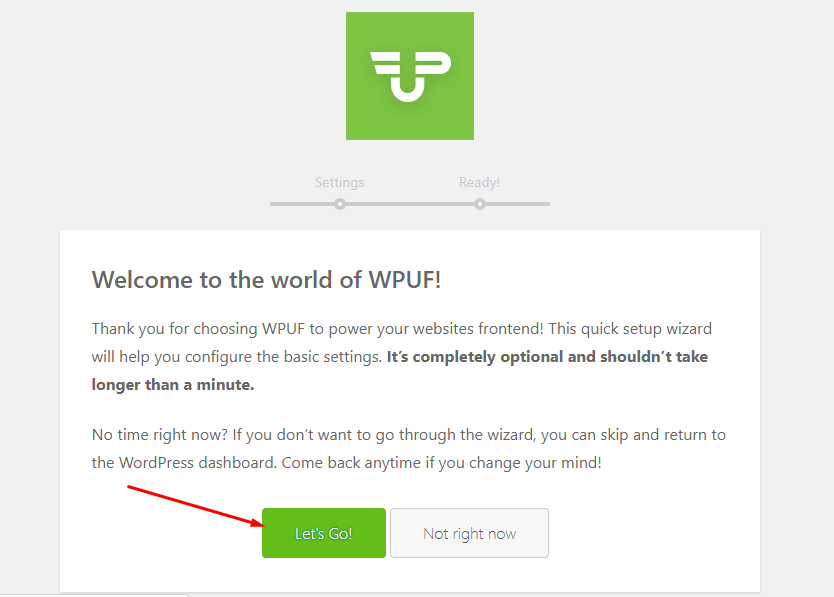
After the installation process is done, you'll get a setup wizard. So click on the ‘Let's Go button.
Now, keep the ‘Enable Payments‘ and ‘Install WPUF Pages'(If needed) check-marked and then click on the ‘Continue‘ button.

Now you're all set to utilize all the features of WP User Frontend. However, if you want to unlock more advanced features & updated functionalities with this frontend post & content editor, you can upgrade to WP User Frontend Pro anytime.
For a more detailed idea about the WP User Frontend Pro, you can always read our full documentation that demonstrates all its features and functionalities step by step.
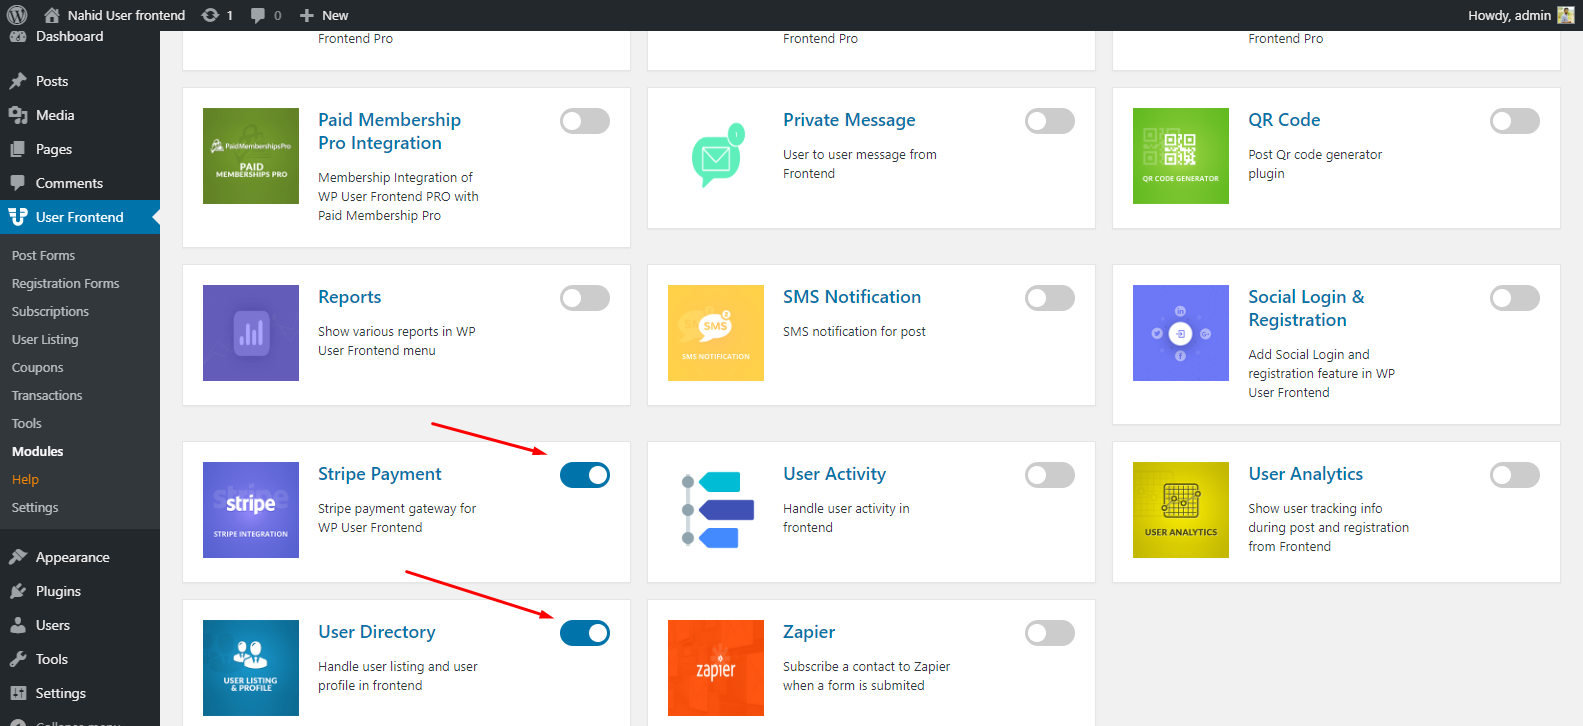
7. Activating Stripe Payment Method & User Directory Module
As you're intending to run a nonprofit website to collect donations, you will need a payment gateway to facilitate the donations receiving option from the donator. And in this case, WP User Frontend lets you add this feature (Stripe Payment) easily. You can also integrate other popular payment gateways like PayPal as well
On the other hand, you can monitor and handle your user listings in a systematic way using the ‘User Directory‘ module of WP User Frontend.
Therefore, to add these modules to your website, navigate to WP Admin>WP User Frontend> Modules> and then activate Stripe Payment & User Directory.
8. Create a Registration Form & Publish it
Now in order to collect donations, you will need a donation or registration form. So first of all you need to create a registration form with all the required fields.
So, let's find out how you can easily create a registration form with WP User Frontend and make it live on the website.
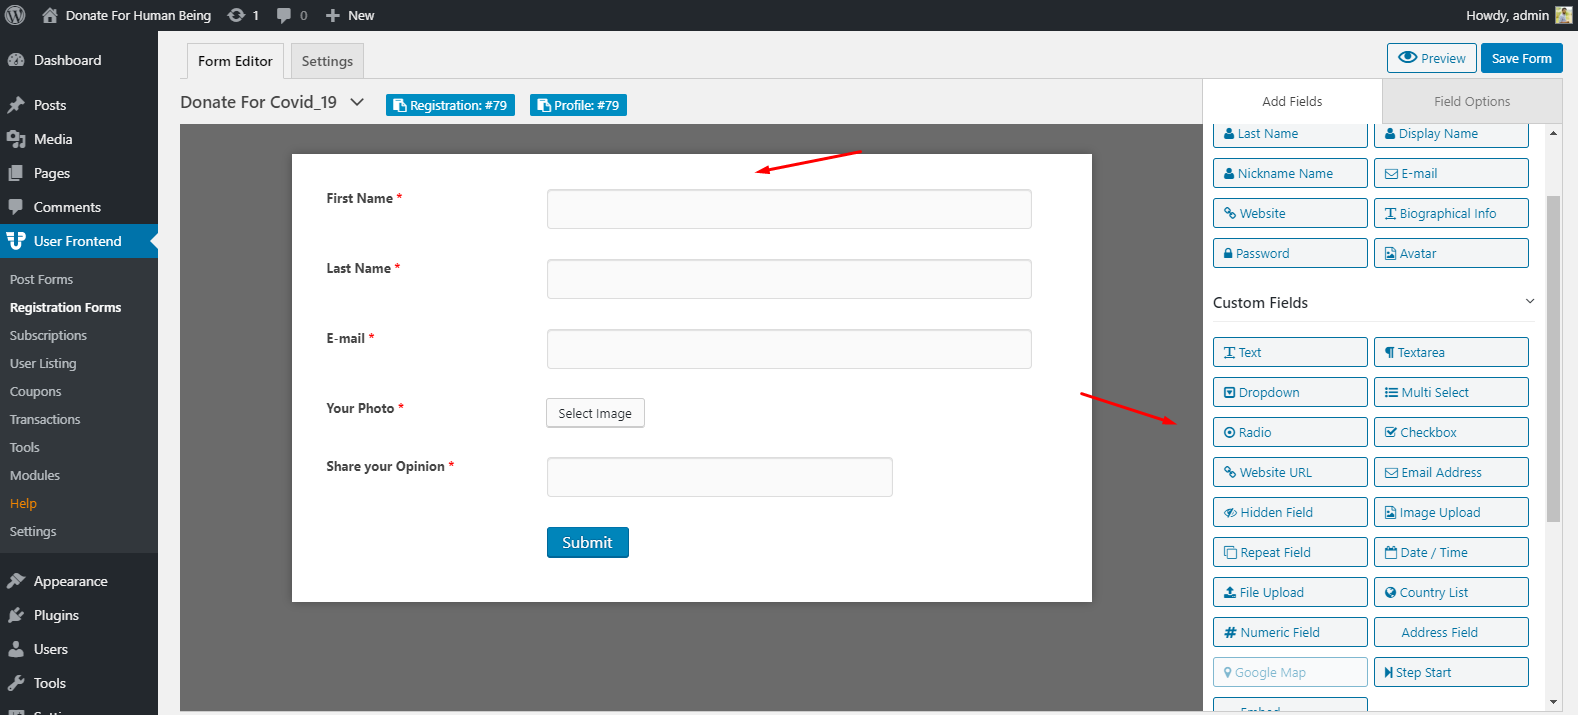
To do that navigate to the WP Admin Dashboard → WP User Frontend → Registration Form → Add Form
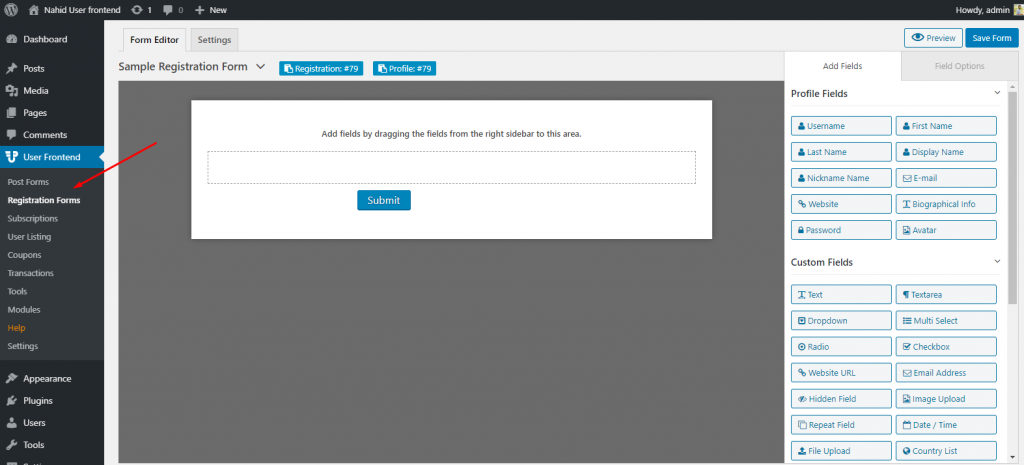
Now add all the essential fields in the form editor by dragging and dropping them from the right sidebar. Make sure that you're using the relevant fields in the form that is required for donation or member registration. For example, First name, Last name, Email Address, Phone Number, etc.
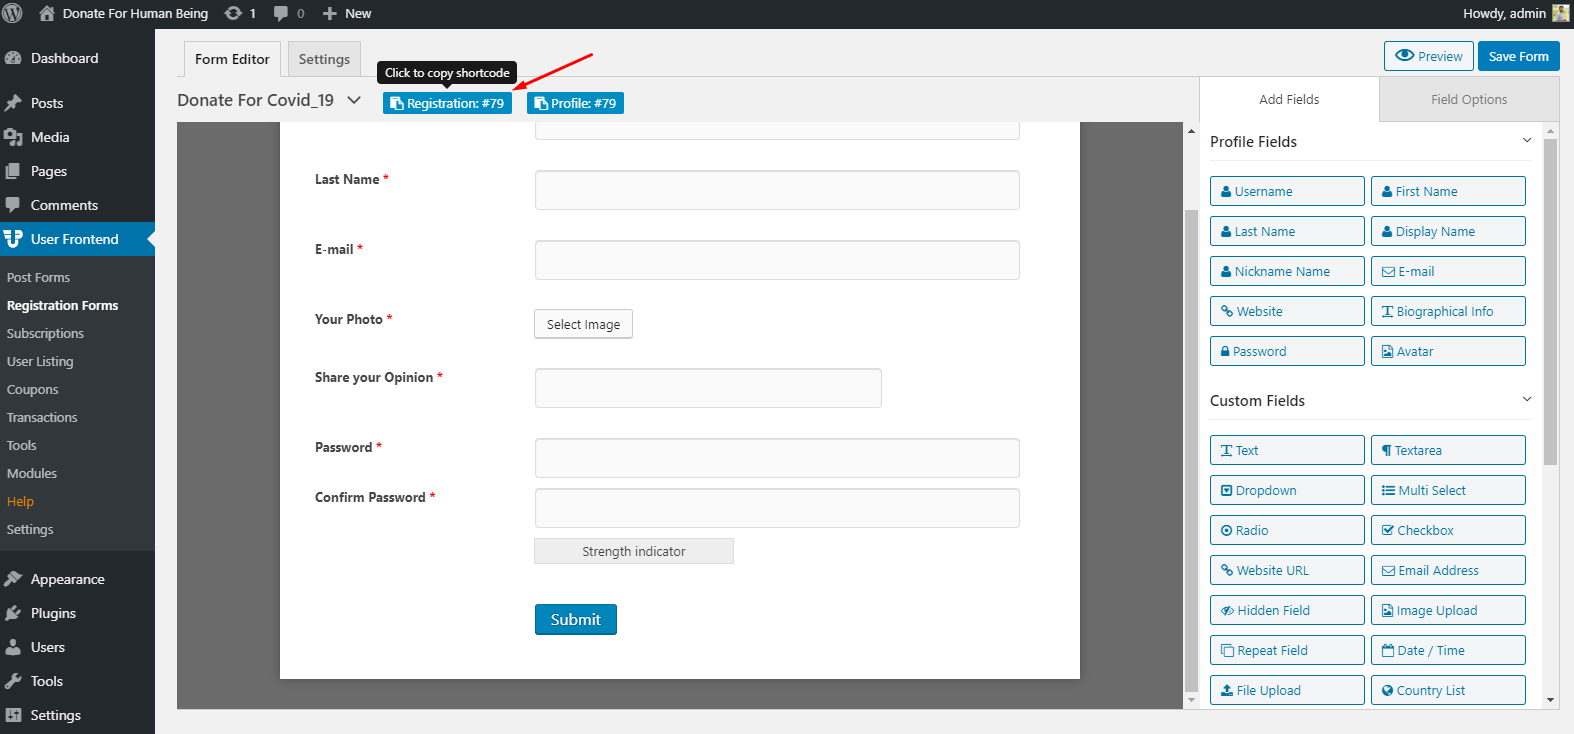
So your registration page is ready. Now, copy the shortcode.
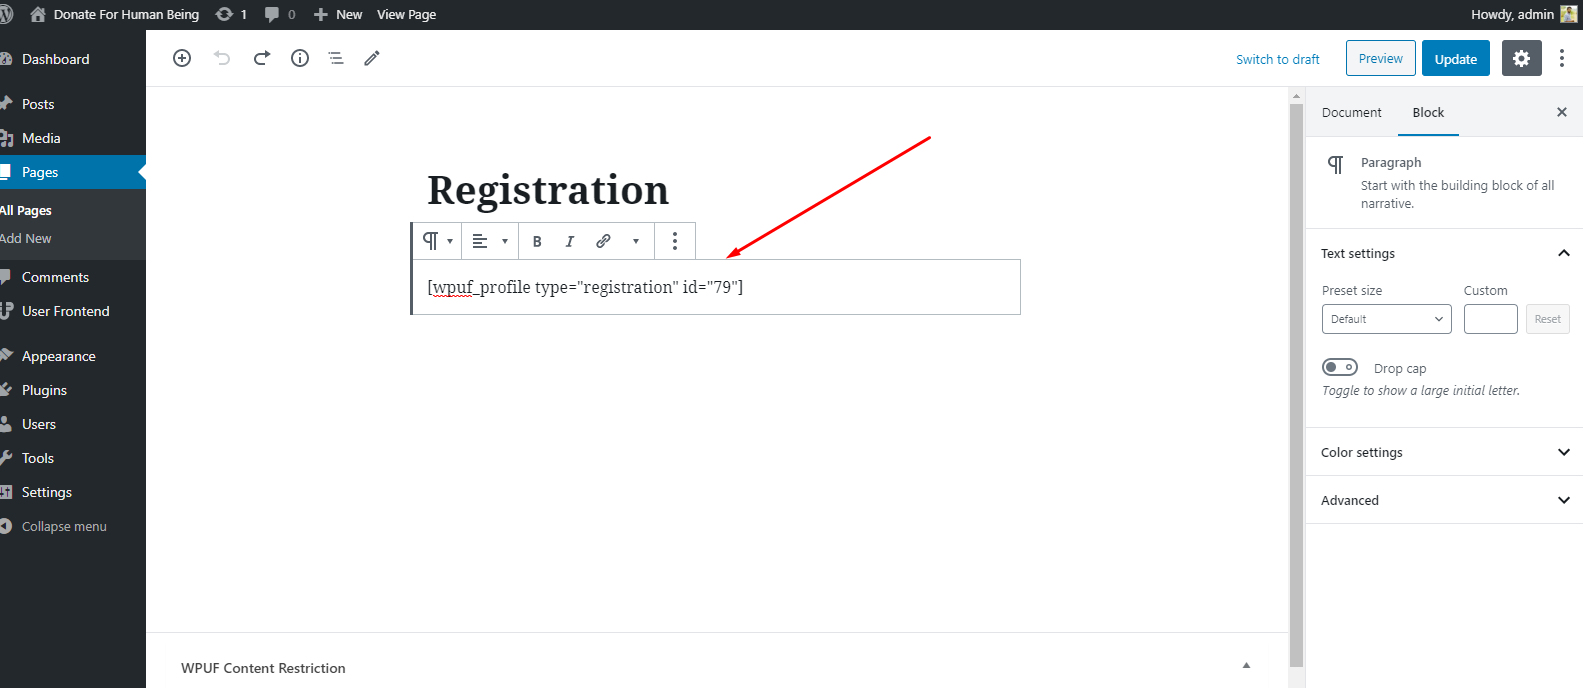
And then publish it on your site's donation registration form page and then hit the publish button.
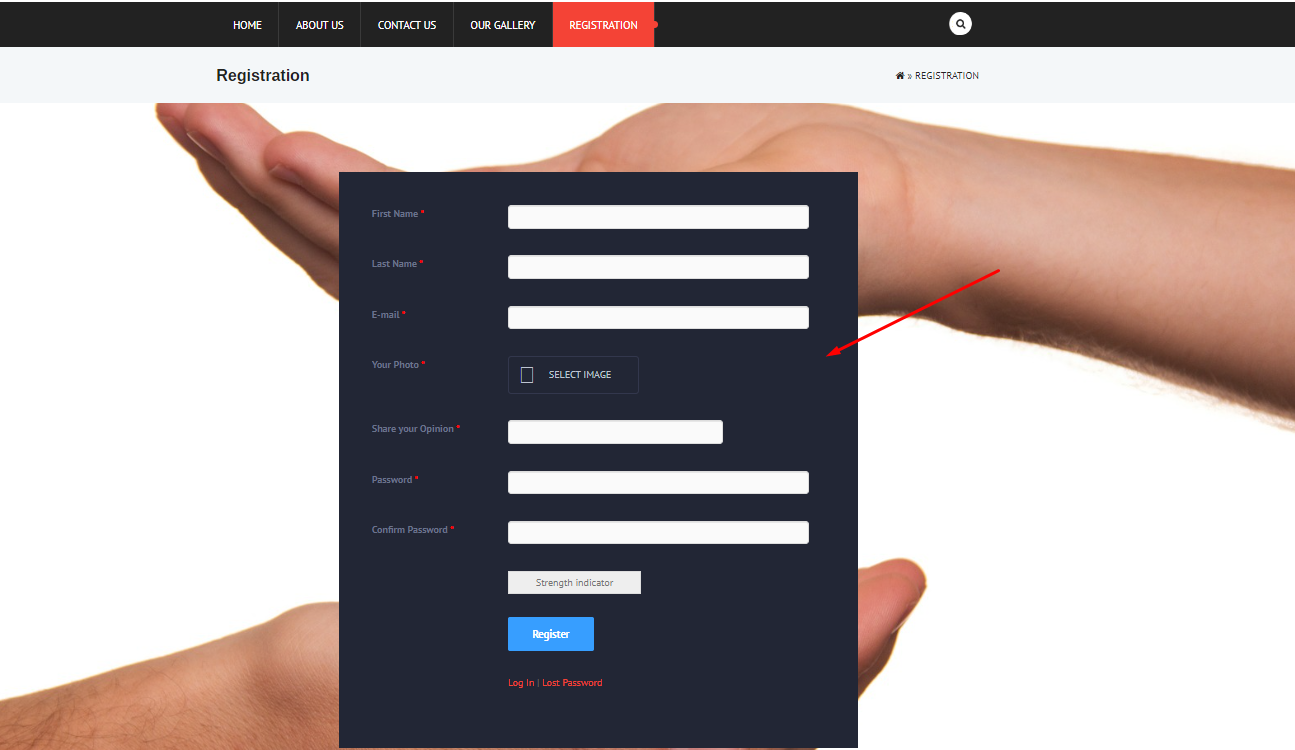
Now let's find out how this donation registration form will look like on your nonprofit website.
However, if you're still facing difficulties in creating a registration form, you can have a much clearer idea about it from its documentation. Here you can get the complete step-by-step guideline into creating & publishing a registration form.
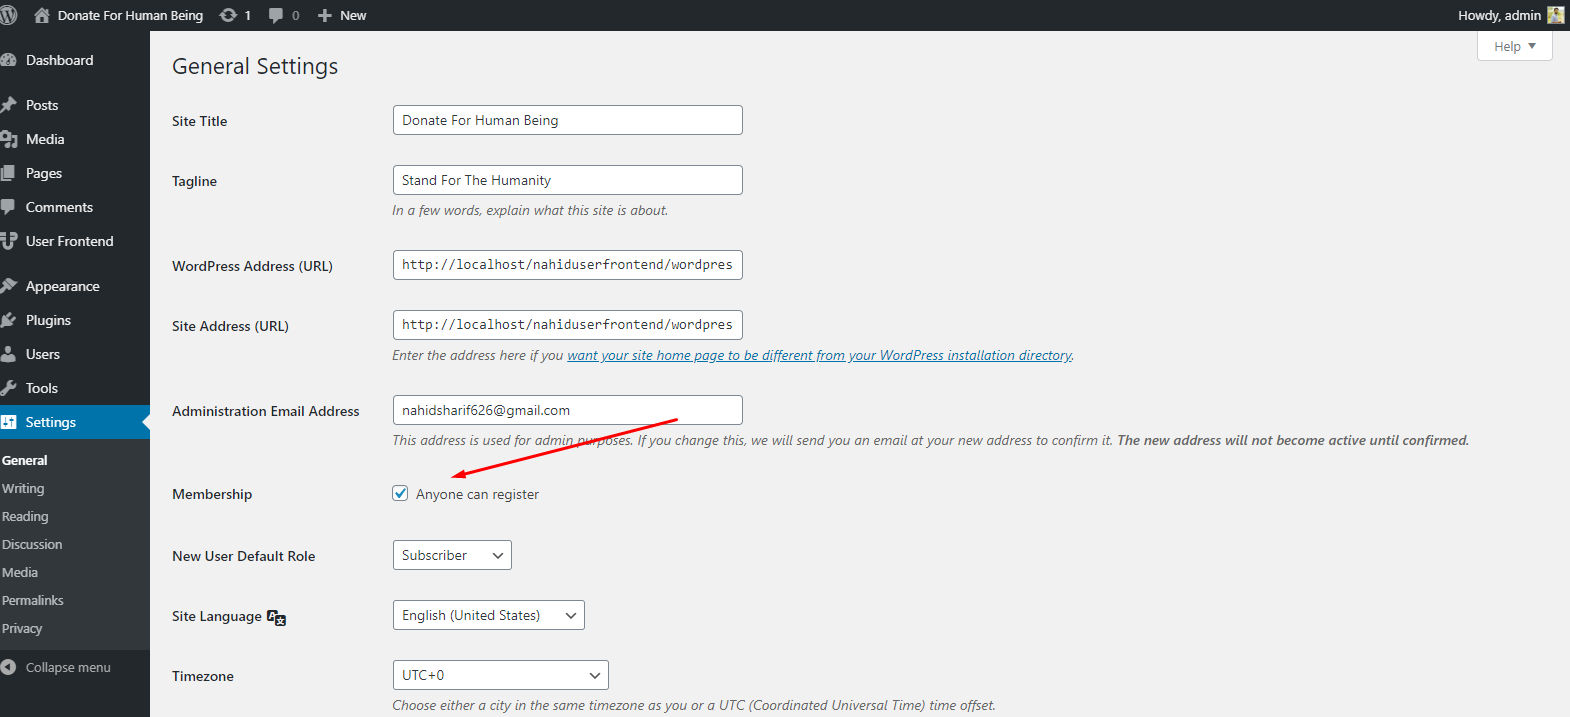
Turn on ‘Anyone Can Register'
Navigate to the WP Admin Dashboard → Settings → General. Tick check the box in the ‘Membership' part that says ‘Anyone can register. This will allow all the visitors to register to make a donation on your website.
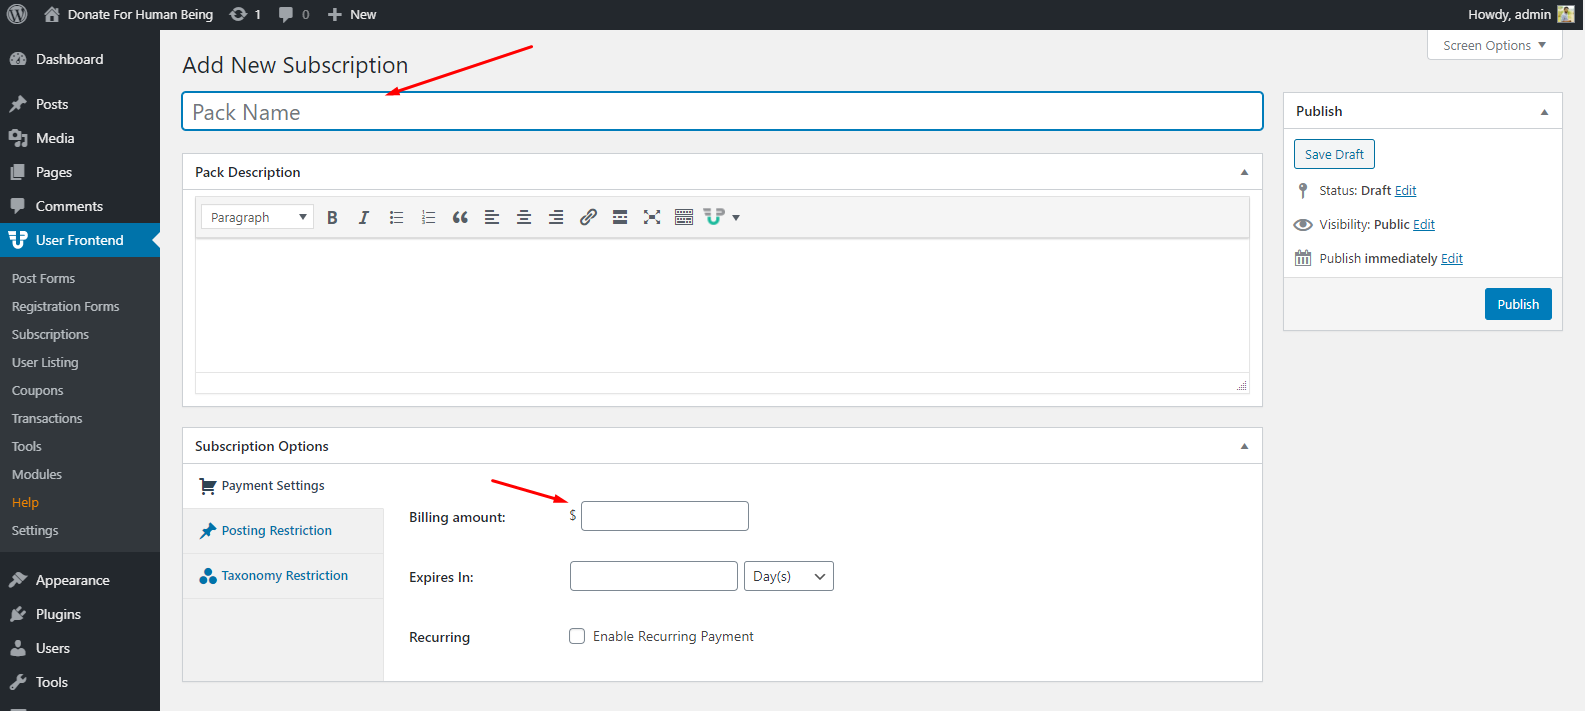
9. Create a Donation Form for Your Nonprofit Website

As we are building a nonprofit website with a donation feature in it, therefore there should be a dedicated donation form page on your website. In this case, we are choosing our subscription form for this purpose.
So let's see how it is done:
Okay, to do that navigate to the WP Admin Dashboard → User Frontend → Subscription to create subscriptions for your users.
However, for a better understanding, you can always check out our documentation for creating a subscription form.
Or you can check out the following video tutorial on how to create a subscription form to understand the whole process more precisely.👇
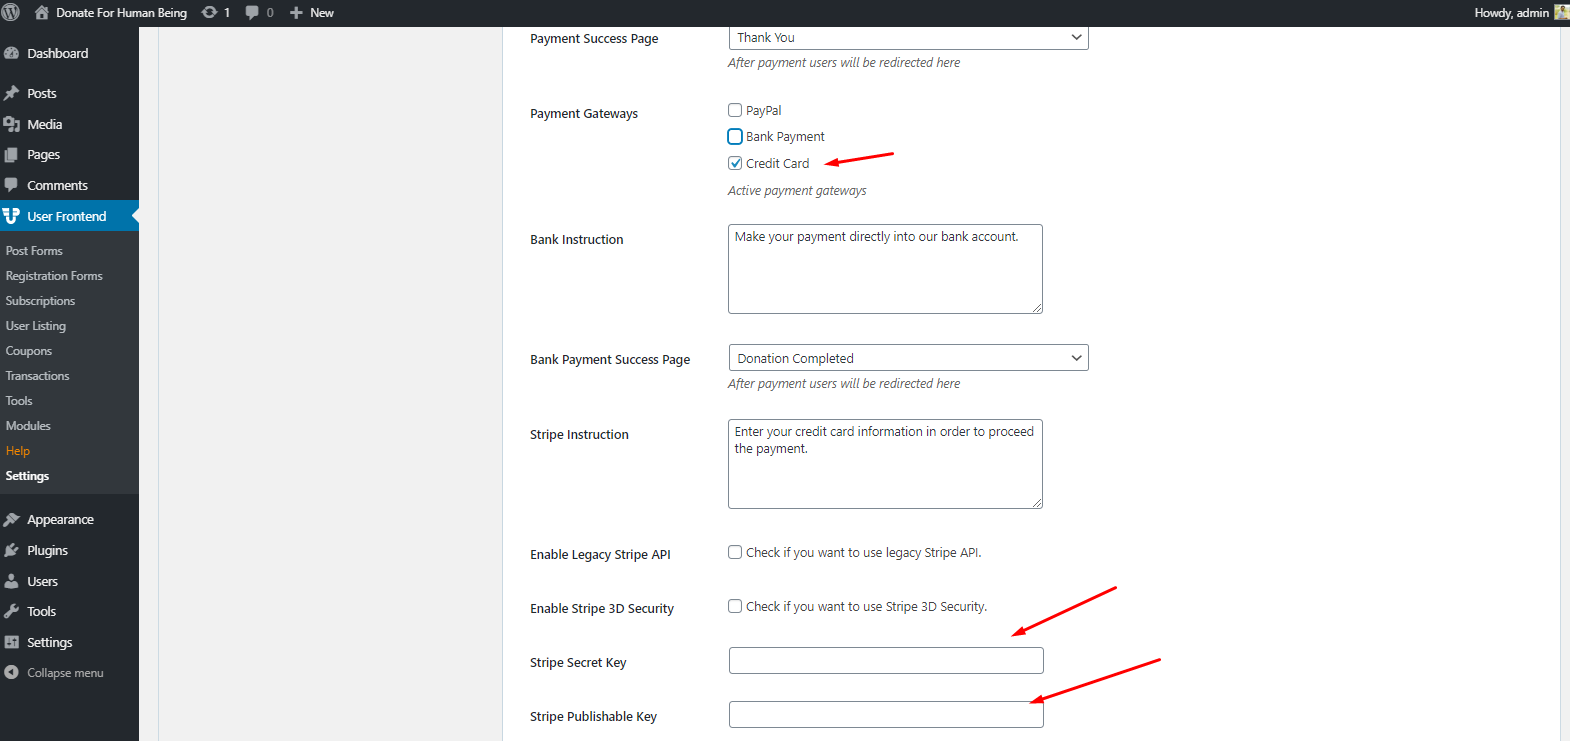
Enabling Payment Gateways
You can either use PayPal & Stripe or Bank Payment to collect donations. Here we will be using the Stripe payment system
To enable the Stripe payment, navigate through the WP Admin Dashboard → User Frontend → Settings.
Now, turn the credit card option on, and after that insert your Stripe Secret Key and Publishable key. Then save the changes and you are done with creating the donation or membership form.
If you're still confused about how to connect Stripe with your published form then you can check out this documentation
Also, you can learn how to enable stripe payment from this video tutorial below.👇
10. Generate Final Donations for Your Nonprofit Website
Well, your website is fully ready to collect donations from visitors.
Now a visitor can register in two ways.
1. Either s/he can register straight from the registration menu
2. Or they can directly enter the donation page and then they can register themselves for making the donation.
So once the visitor gets to the donation page, then they get a registration form where they will be asked to fill in their information.
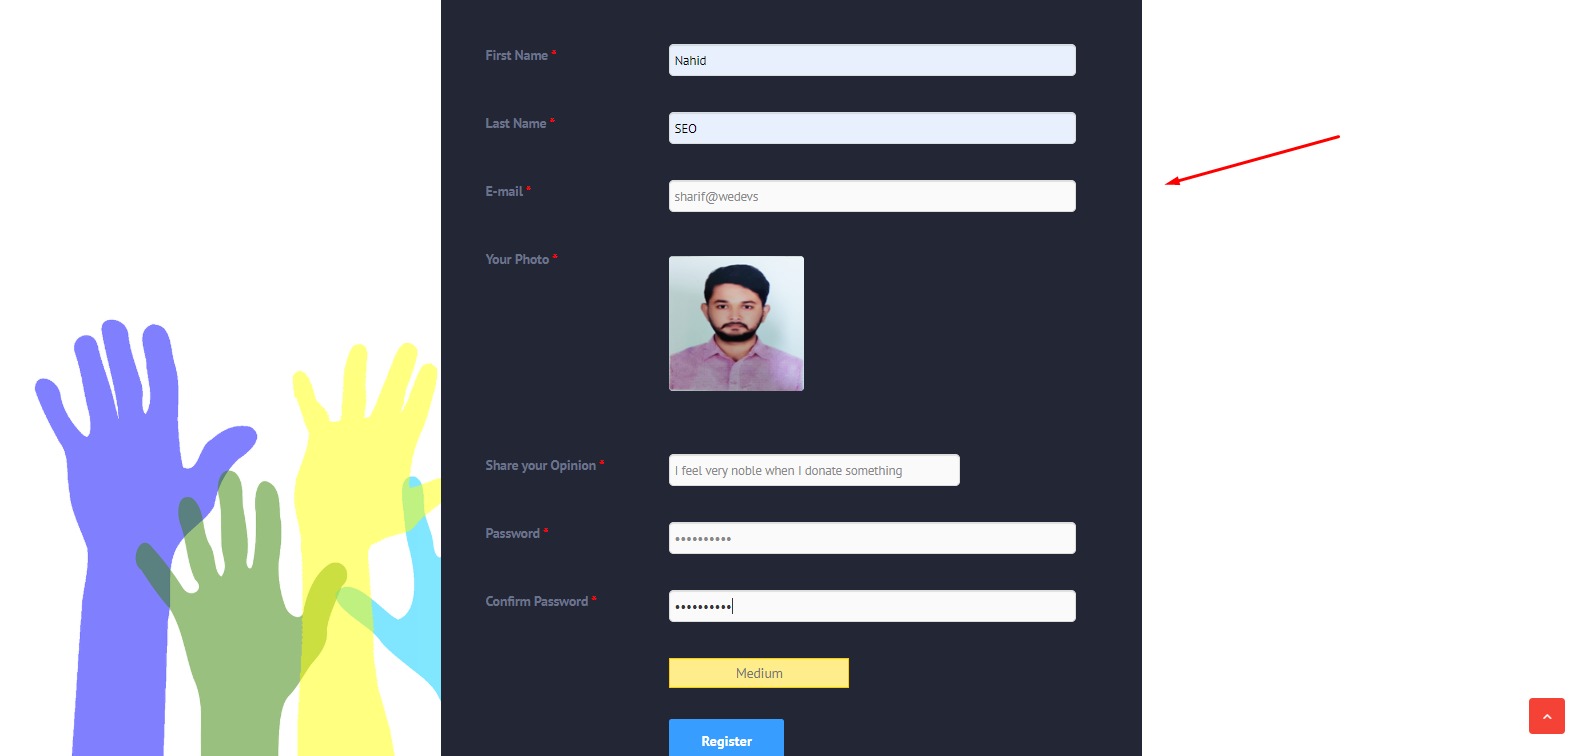
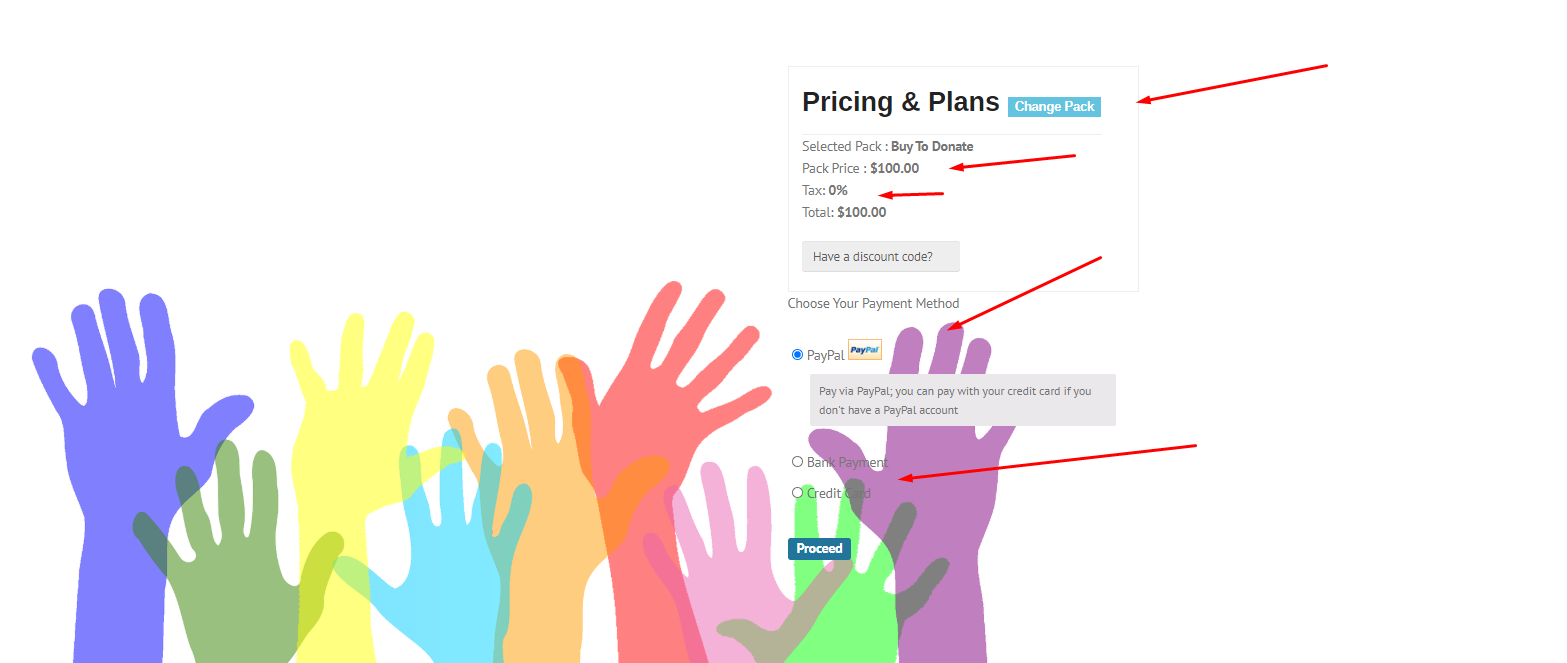
After inserting the information, click on the ‘Register‘ button. Then the payment section will appear for the final step. In case you want to change your amount, you can do that by clicking on the ‘Change Plans‘ button in the upper right corner.
However, you can find three different payment gateways in the payment section. So pick the suitable payment gateways that you want to complete your donation transaction. And finally, click on ‘Proceed‘.
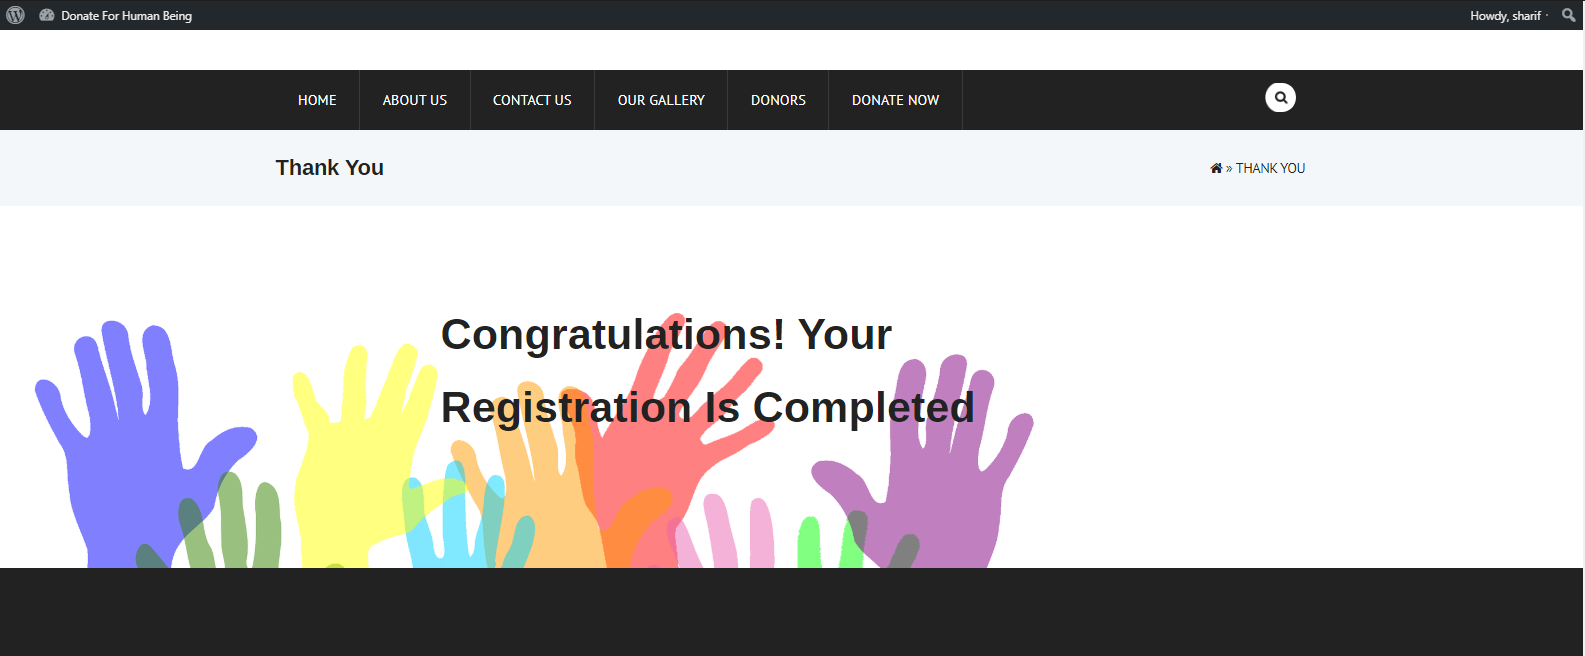
And now your donation is collected by the site owner in their website's connected account.
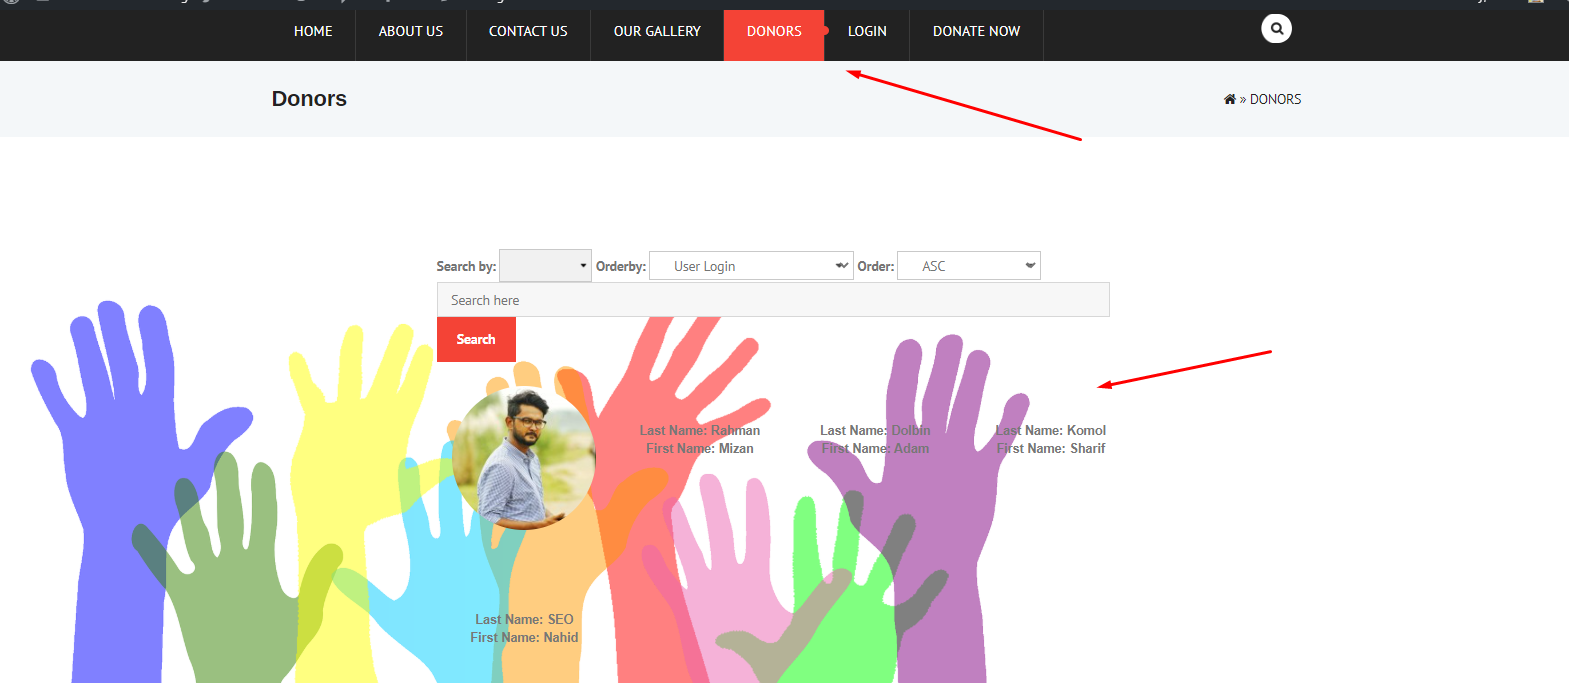
Additionally, if you have a donor listing page then you will also be able to see other donors and their details on the ‘Donors' page. The actual purpose of this page is to motivate others to join the donation program.
Now you might be wondering how to add this feature, right?
Well earlier in step 7, we have talked about the ‘User directory‘ module of ‘WP User Frontend‘ right? So using this module you can seamlessly add users who joined your donation setup.
However, for a more detailed guideline about the user listing feature, you can always check out its documentation. It will help you to employ the feature more accurately.
Note: Only admin can set who can see the donors or users
Bonus Tips: How To Promote a Nonprofit Website To Generate More Funds

In this section, we'll share some interesting marketing tips to easily promote your website so that it can reach more potential donors.
Nowadays all we see around us is marketing and promotions. If you can't acknowledge the right marketing strategies at the right time, then you can't reach your desired goal of making sales. So for the right marketing plan what you have to do is, pick the right marketing approach and apply it at the right time.
So here are few marketing stunts that you should consider for promoting your nonprofit website.
- Optimize your website with the latest SEO drills
- Design your website with the popular WordPress page builder
- Do proper email marketing
- Utilize social media properly
- Write more engaging content to persuade visitors
So, Create Your Nonprofit Website; Let People Fight Together in This Global Crisis
Well, we have come to the end of this tutorial. And now you know how you can create a nonprofit website and add donation features to it. Also, you can collect the visitor's data for further marketing or retargeting drills in the future.
However, the main purpose of this post was to assist those people who want to wholeheartedly support the helpless people through an online donations program and need a nonprofit website for it. Fortunately, in WordPress, you can build a website in minutes regardless of whether you're a technical person or not.
Apart from that, the WP User Frontend, the ultimate WordPress frontend content editor plugin, flourishes your post-management and gives you complete flexibility bringing the best out of your site's overall usabilities done from the frontend.
So why wait, create a nonprofit website now and give your noble cause its real meaning by collecting donations or raising funds with it.
Don't forget to share your opinion in the comment section below. If you want to say anything regarding this tutorial, please feel free to let us know without any hesitation or you can simply contact us for more details.