How to Hide Dokan Vendor Dashboard Menu Items
Are you looking to hide some menu items from your Dokan vendor dashboard? You can use custom codes or a plugin to make your job done. This guide shows you both ways in detail.
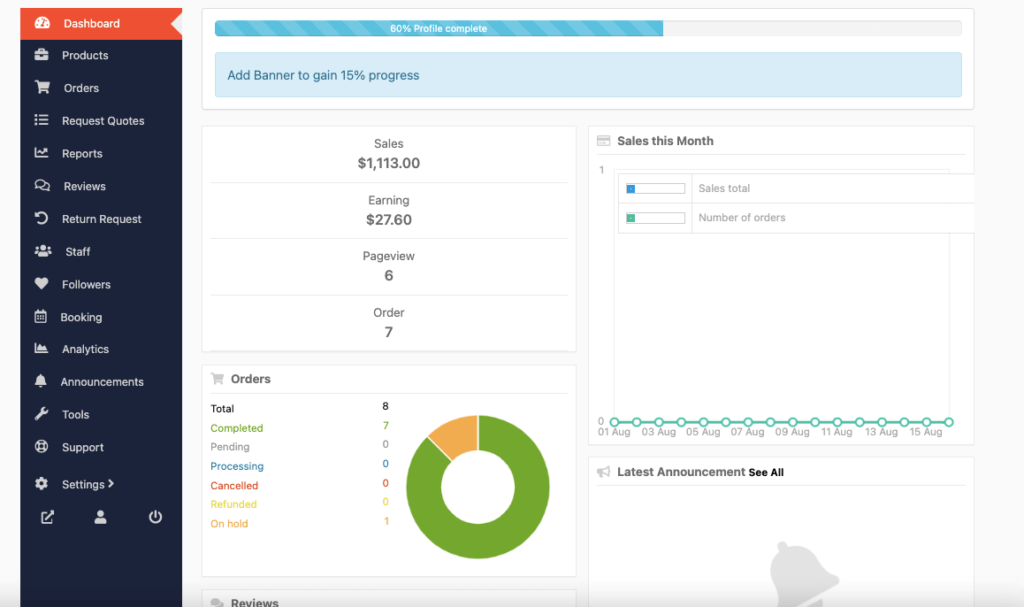
Dokan offers an easy way to manage your stores right from your vendor dashboard. There is a menu option on the dashboard that allows vendors to quickly access the useful pages.
Due to the individual requirements of different industries, each menu item would not be necessary for all. You can hide some items from the dashboard menu, considering the purpose and needs of your vendors. Your vendors will get a personalized dashboard having only the necessary items they need to smoothly run their stores on your marketplace.
Let's see how to hide the dashboard menu in WordPress for Dokan powered multivendor marketplace.
Note: You can learn ways to Add an Extra Menu on the Vendor Dashboard of Dokan Multivendor.
Why Hide Menu Items from Dokan Vendor Dashboard?
The vendor dashboard is filled with a lot of menus and sub-menu items. With all the features, the dashboard may seem cluttered. Although the vendor dashboard design takes away the centeredness, still it doesn't hurt to hide the menu items that the vendors don't need to see.
Also, some of the menu items aren't used on a daily basis. The idea is to make the vendor dashboard accessible and easy to navigate.
That is why you need to know how to hide some menu items from the vendor dashboard.
Now. let's get into the tutorial part.
How to Hide Menu Items From Dokan Vendor Dashboard – 2 Easy Methods
As we've mentioned above, you can hide the vendor dashboard menu items by following two different methods:
- Method 1: Remove Menu Items Using Custom Code
- Method 2: Remove Menu Items Using a WordPress Plugin
We will show you both ways to choose the best one for you.
Let's see how to hide the dashboard menu in WordPress-
Method 1: Remove Menu Items Using Custom Code
First, we will show you how to use a custom code to hide the menu items from the vendor dashboard.
Here are the steps you need to follow:
- Step1: Create a Child Theme
- Step2: Add the Custom Code to the Functions.php file of the Child theme
- Step3: Save the Code and See the Results
Let's see the steps in detail.
Step 1: Create a Child Theme
As always, when you are making customizations, it is better to use your child's theme. That way you won't lose any data when you update the plugins.
Read: How to Create a Child Theme for Your WordPress Website.
You will find plugins to create a child theme as well.

Step 2: Copy the Code in the Child Theme's Function.PHP File
Now, open your child theme's function.php file and copy the following code-
function remove_vendor_dashboard_menu( $urls ){
    unset(  $urls['?'] );
    return $urls;
}
add_action( 'dokan_get_dashboard_nav', 'remove_vendor_dashboard_menu', 99 );
“?”= Write the menu name here.
Step 3: Save the Code and Test by Logging in As a Vendor
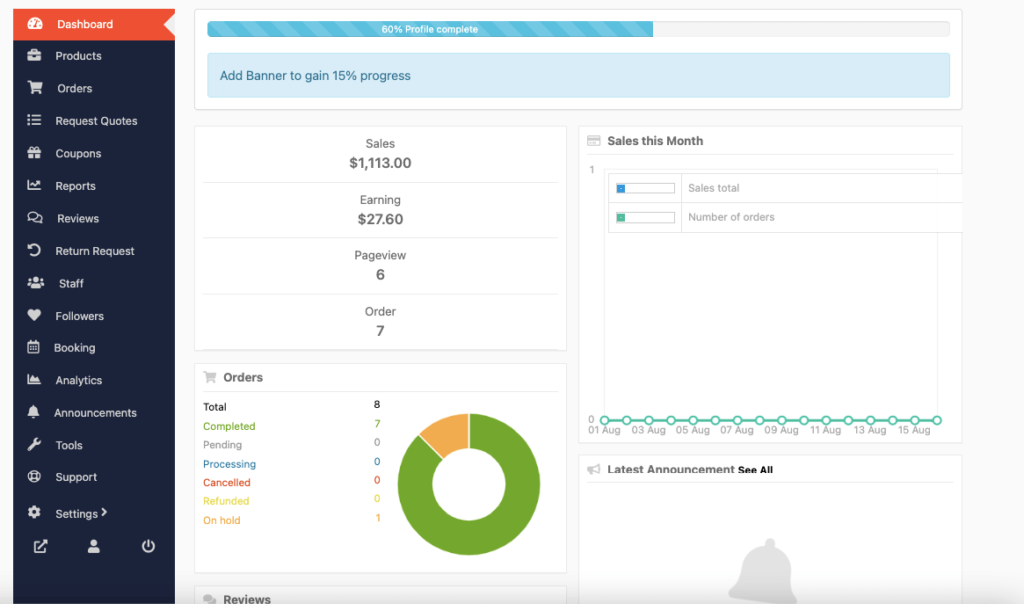
You are done. Now save the code and refresh your website. Log in as a vendor and you will see the changes.
At first, we will remove the Withdraw menu option from the vendor dashboard. So our code will be,
function remove_vendor_dashboard_menu( $urls ){
    unset(  $urls['withdraw'] );
    return $urls;
}
add_action( 'dokan_get_dashboard_nav', 'remove_vendor_dashboard_menu', 99 );
Here you can see from the below image-
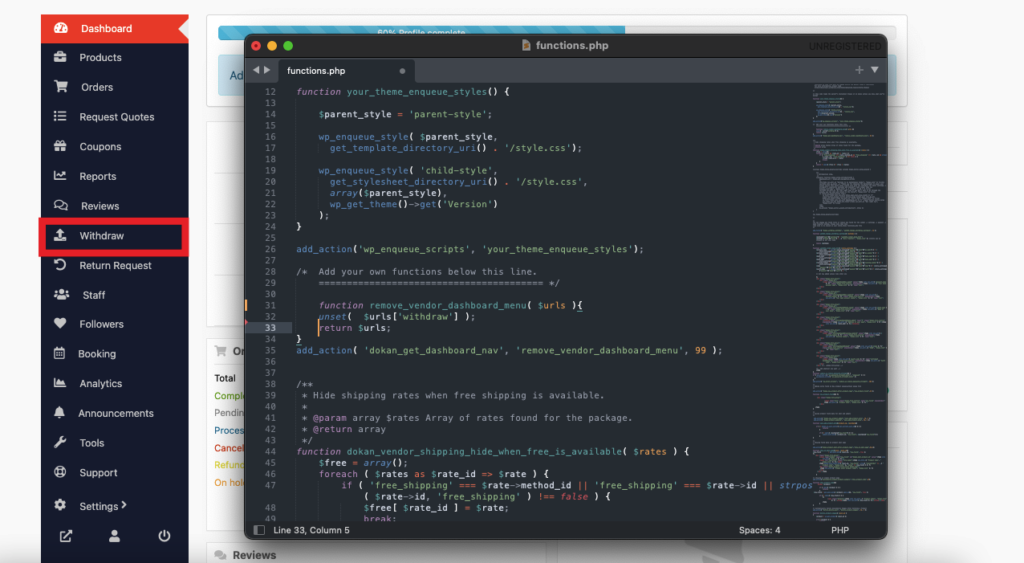
Save the code and refresh your website. You will see that the Withdraw option has been removed.
What if you wanted to remove multiple menu options? Yes, you can do that as well. Let's say along with the Withdraw option we want to remove the Coupons option as well. Here's what the code will look like,
function remove_vendor_dashboard_menu( $urls ){
    unset(  $urls['withdraw'] );
    unset(  $urls['coupons'] );
    return $urls;
}
add_action( 'dokan_get_dashboard_nav', 'remove_vendor_dashboard_menu', 99 );
You can see from the below image of the editor-
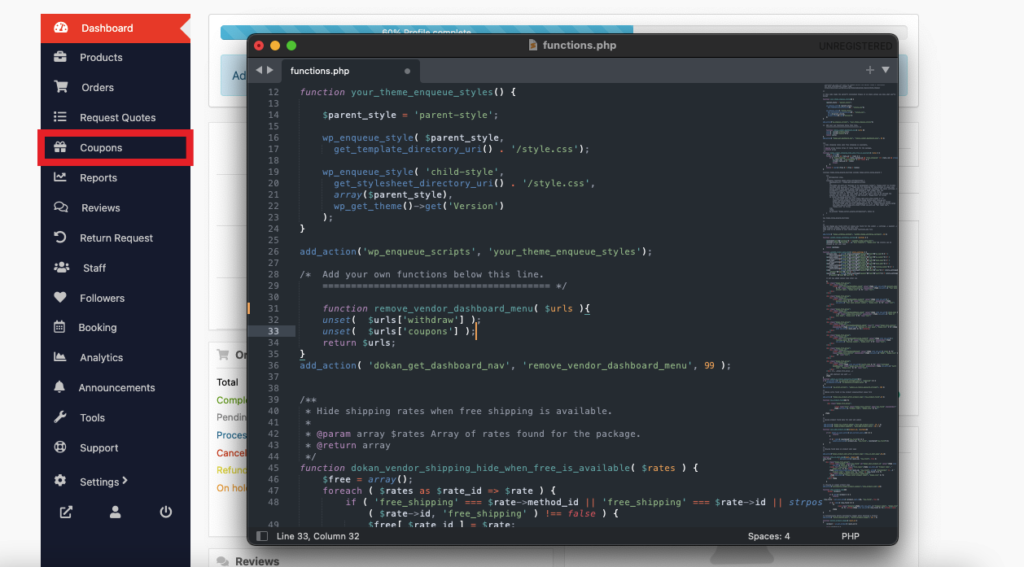
Save the code and refresh your website. You will see that the Coupon option has also been removed.
This is how you can remove multiple menu items from the vendor dashboard using a custom code.
Now, let's see how to do this using a WordPress plugin.

Method 2: Remove Menu Items Using a WordPress Plugin
Other than using custom code, you can hide menu items from the vendor dashboard using a plugin as well. Let's see how.
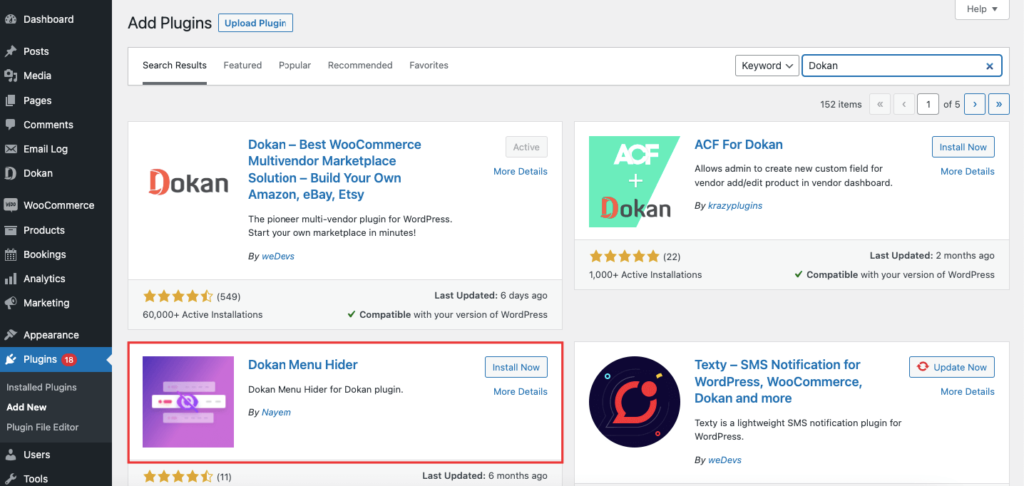
Log in to your WordPress dashboard and navigate to Plugins–> Add New and type “Dokan Menu Hider” in the search box. Then install and activate the plugin.
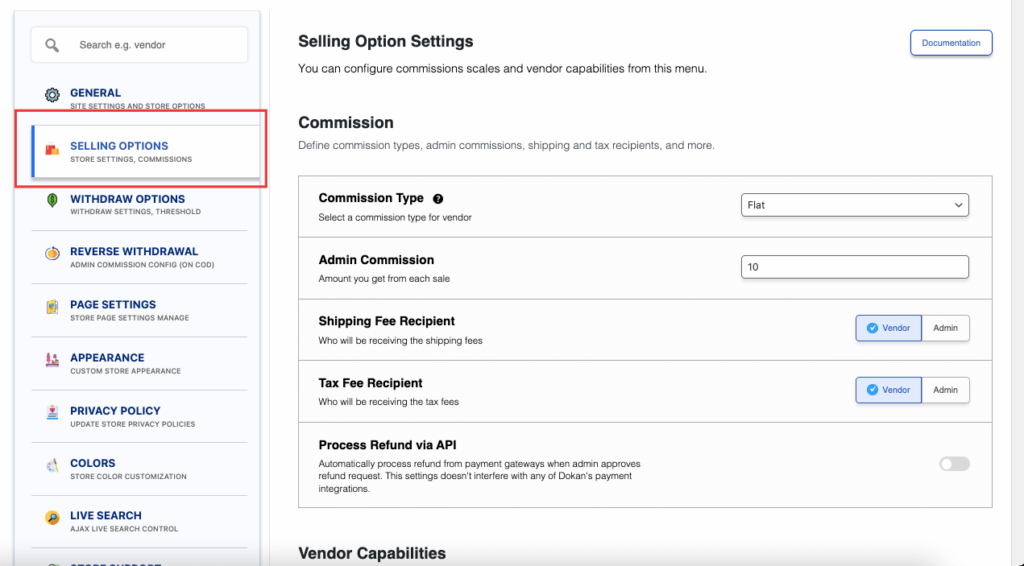
After installing the plugin, go to Dokan–> Settings–> Selling options.
If you scroll down, you will find the “Hide Vendor Dashboard Menu” options. Enable the menu options you like to remove from the dashboard menu. You can choose multiple options if you like.
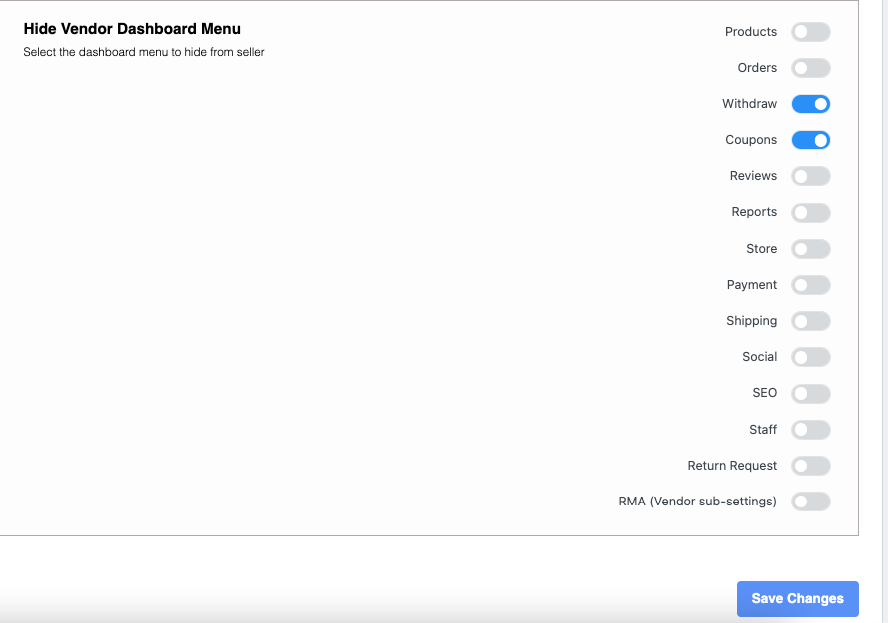
Hit the Save Changes button and you will see the changes in the vendor dashboard menu.
This is how you can use a plugin to hide the menu options from the vendor dashboard.
Important Note: Adding another plugin to your site may create a load on your website. This may hinder the performance of your site as well. Although using a plugin is easier, we suggest using a custom code. Using a code won't put any strain on your website and hamper your website's performance.
You can also check the video tutorial below to learn more about how to hide menu items from the Dokan vendor dashboard-
FAQ(s) for How to Hide Dashboard Menu in WordPress
On the sidebar of the Customizer click on the Menus > tab. Click on Primary. Now just open the menu item you want to hide/remove-by clicking on it and clicking the red Remove link. Finally, click Save & Publish.
The easiest way to hide menus and items from the WordPress admin panel is by using the Admin Menu Editor plugin. It's a free WordPress plugin that lets you change the menu titles, URLs, icons, and more.
In your WordPress dashboard, go to Appearance and click on Customize. Look down for the Additional CSS section and click on it. In the box there, paste this: nav#site-navigation { display: none; }. Publish your changes
Personalize Your Dokan Marketplace with Advanced Customizations
Customizing the vendor dashboard will help you personalize your Dokan-powered marketplace. You can either-
- Use custom codes
- Or install a plugin on your website
With advanced customizations, you can upgrade vendors' experience on your site. Keep it easier to scan and more accessible. So, vendors can easily find their required items and take quick action. Better vendor experience boosts their loyalty and inspires more vendors to enroll on your site.
If you face any issues with codes or the plugin, do let us know in the comment section below.