
weForms helps you to build forms quickly with its drag and drop form builder. You while you can get a live preview of your forms directly in the builder once it looks good, it doesn’t mean you are done. Another important thing that you should keep in mind is the Form Settings. In this document, we will discuss how to configure forms and configure different form settings.
Form Settings Navigation
To find the form settings options, navigate to –
WordPress Admin Dashboard → weForms → Contact Forms → Open a form → Setting tab
Form Settings
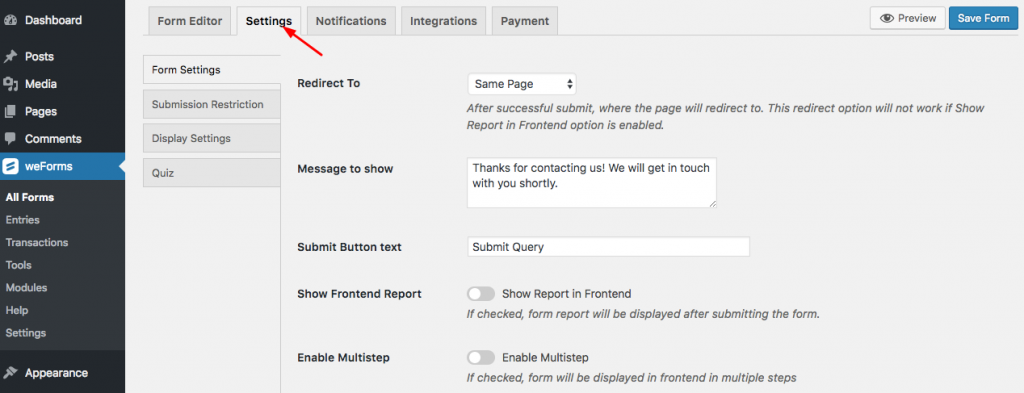
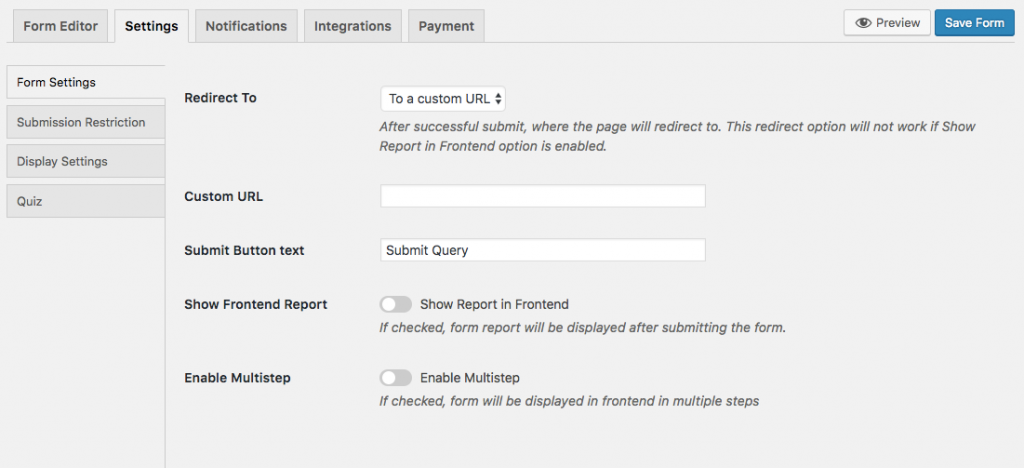
You will find several options. First, we have “Redirect To”. Using this, you can select the page which will be shown after a successful submission. The option you select will be shown after the submission. There are three options – Same Page, To a page, To a custom URL.
You can select any one of them. If you choose the same page, it will not redirect to another page.
In this configuration, you can set the message that you want to show to your users after successful submission. Simply put the text into the Message to show box and click save changes.
From weForms v1.2.8 and on you can also map your field meta keys into the message you show users after form submission.
For example, you can insert the meta key for the Name field, and it will show up in the message in frontend.
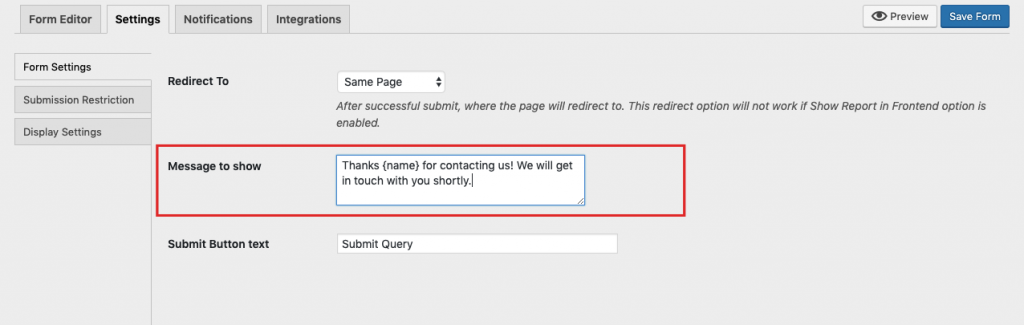
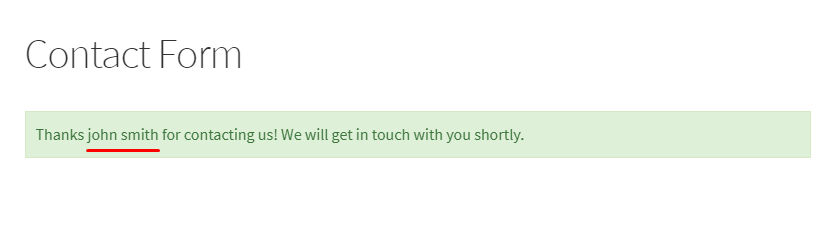
Using this, the user will be able to see their name in the message:
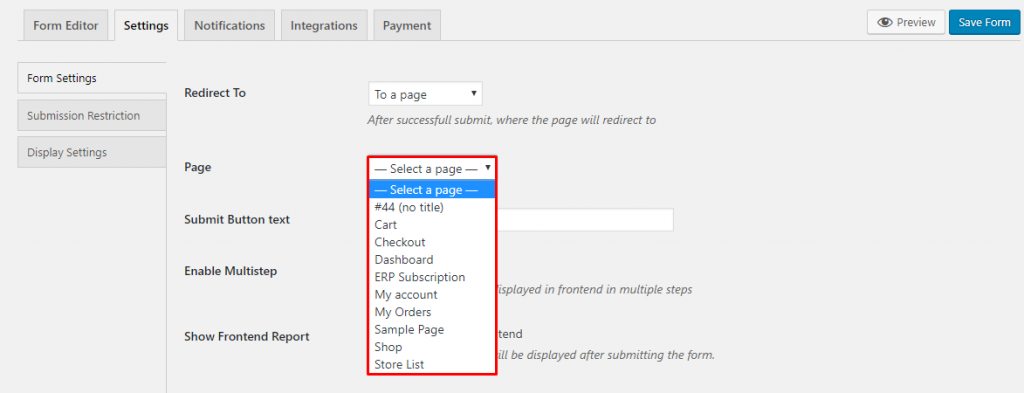
You can also select To a page option from the “Redirect To” drop-down field.

You will see a new drop-down called Page. Select the page you want to redirect to and save changes.
In the same drop down you can add a custom URL. Select To a custom URL. You will now see a new field Custom URL. Simply, insert the URL in the field and save changes.
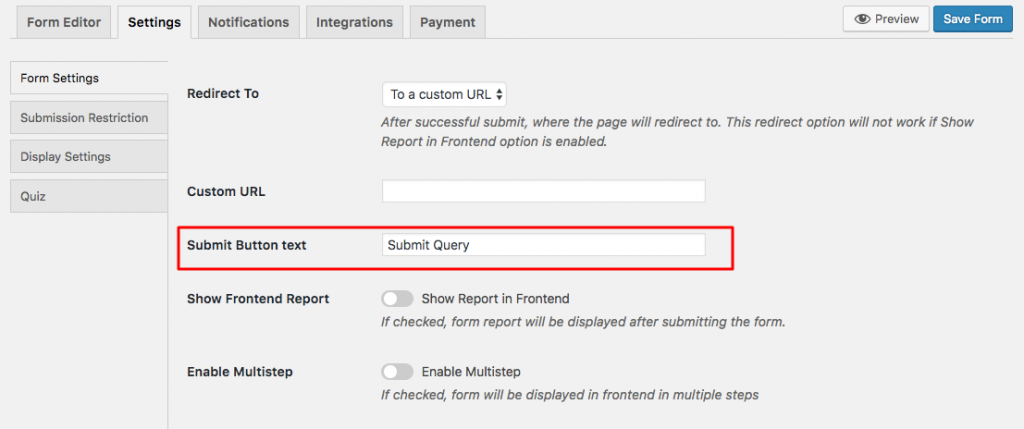
You can also change the text of your form button from the Submit Button text option.
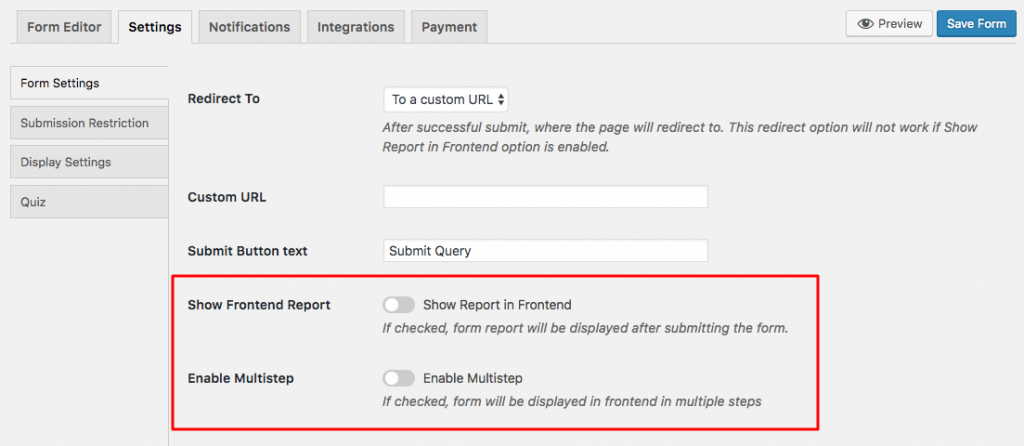
You can also choose to display poll reports in frontend for your users by pressing the toggle button as well as enabling Multistep to break apart your form.
Conditional Logic on Submit Button: With the release of weForms Pro (version 1.3.5), it is possible to hide and show the submit button using conditional logic.
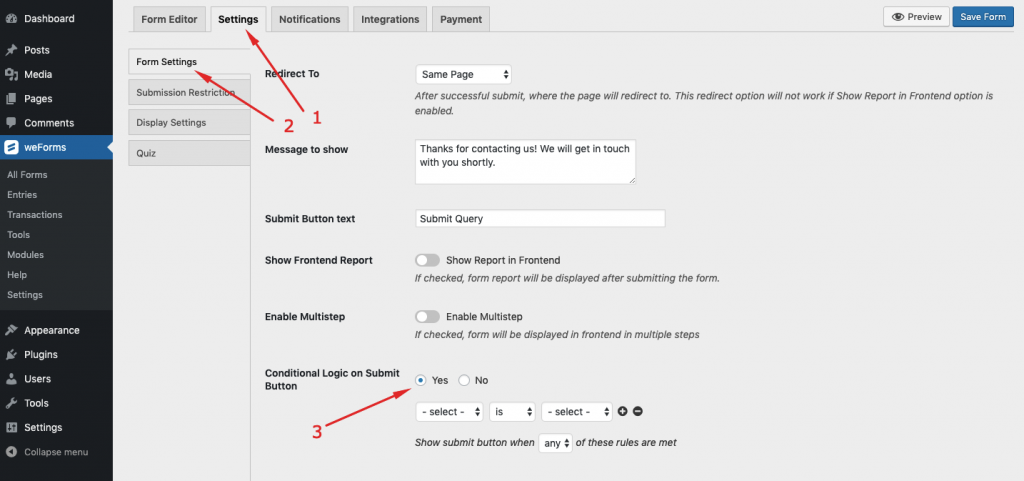
The conditional logic on the Submit button only works with four fields. Those fields are:
- Checkbox
- Radio
- Multi-Select
- Dropdown
Submission Restriction
From this tab, you can configure several things including form schedule, authentication, and entry restriction. To find these options, navigate to – WordPress Admin Dashboard → weForms → Contact Forms → Open a form → Setting tab → Submission Restriction.
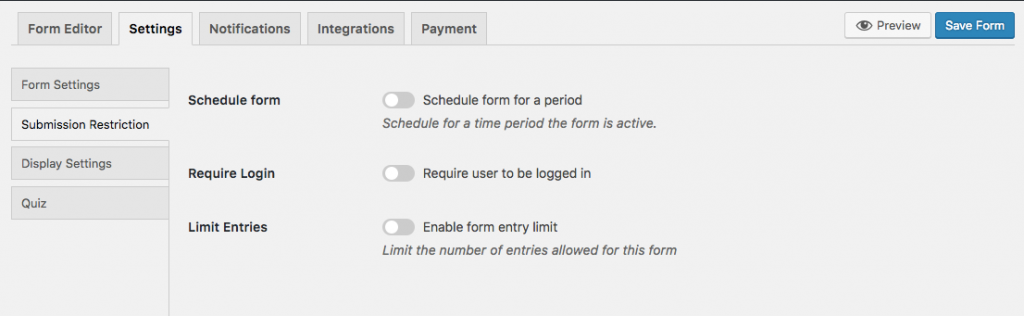
Schedule Form
To schedule a form, open the form and click on the settings tab. From there click on the Submission Restrictions menu.
Now, check the schedule form for a period. You can set up the schedule period by adding From and To dates.
There are also options to set up the message that you want to show to your users.
- Form Pending Message: Put the message you want to show when a form is pending or scheduled for a future date.
- Form Expired Message: Put the message you want to show when a form has expired.
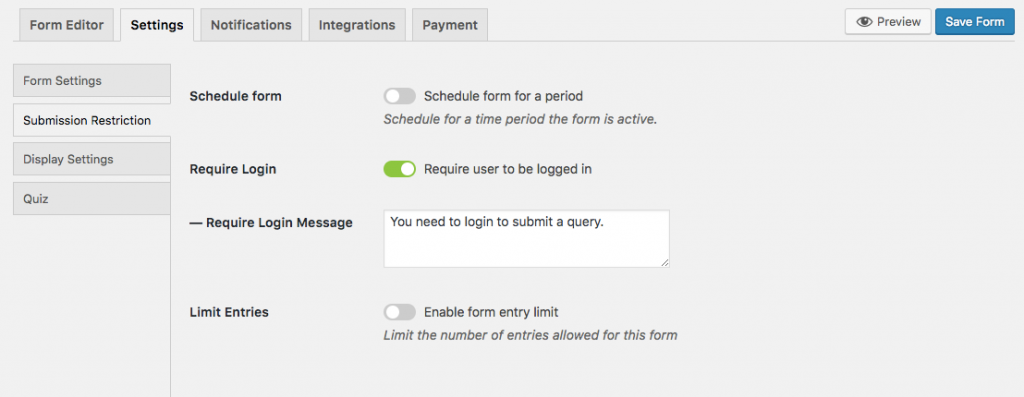
Require Login
This option helps you to add security to a form. Open the form and visit the form settings page. Click on the Submission Restriction menu.
Now, check the Require Login option and you will get a new option. You can change the text in the Require Login Message box that you want your users to see.
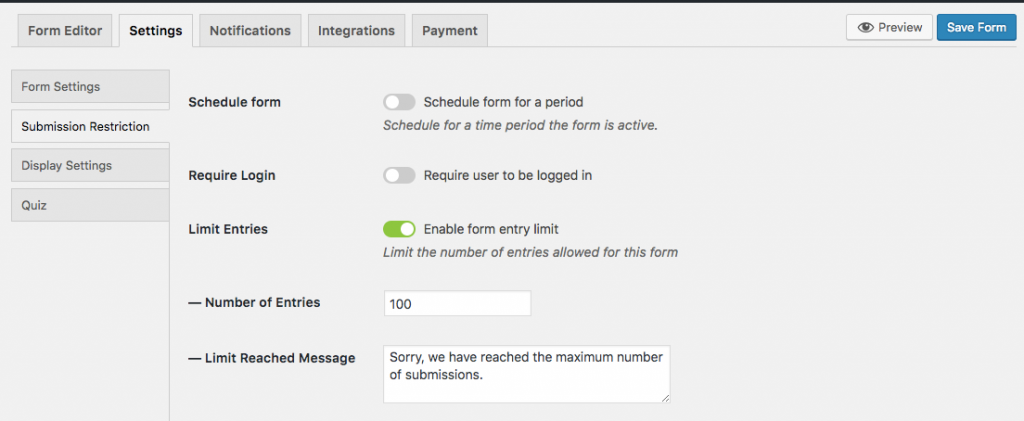
Limit Entry or Submission Restriction
Activate the Limit Entries toggle button. You will now get two new fields:
- Number of Entries: Enter the submission entry limit you want in this numeric field.
- Limit Reached Message: A default message your users will see when the form loads has been given with every post form. You can change this message. Users will be prevented from submitting a new entry when this message appears.
- When you are done configuring, click on Save Changes.
Display Settings
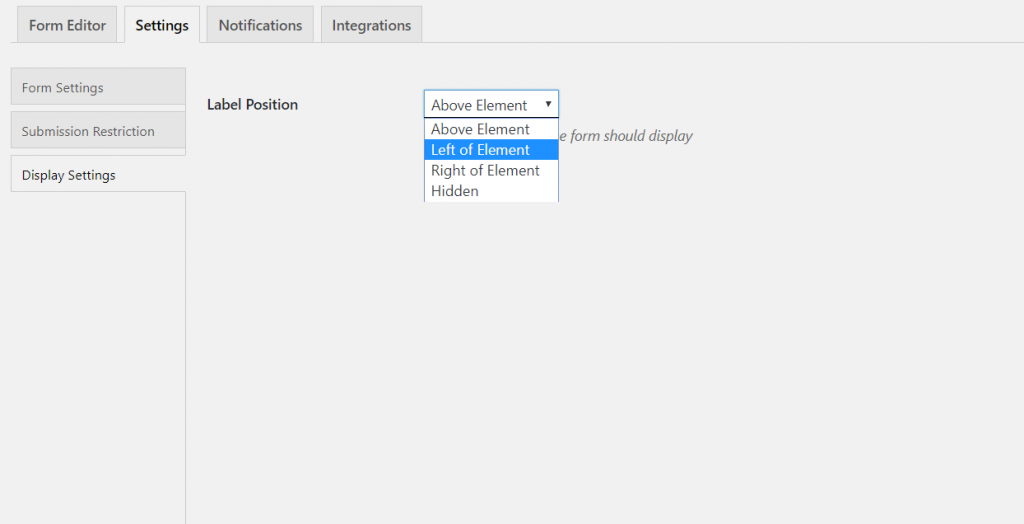
With weForms, you can set the label position. You need to navigate to the Display Settings menu on weForms form settings.
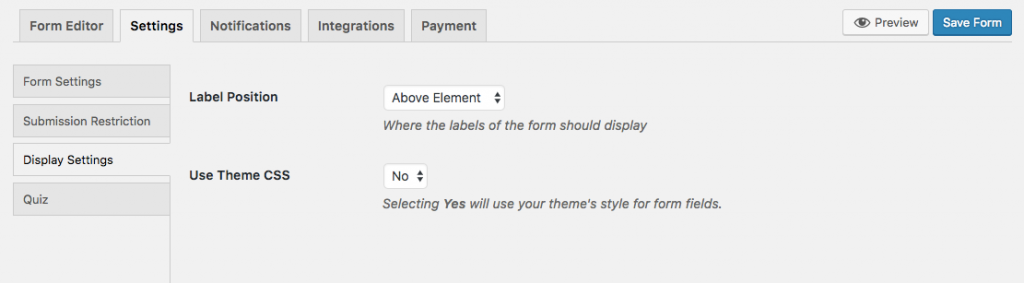
Now, select the position you want from the dropdown table.
Quiz
In the latest version of weForms, now you can even turn a form into a custom quiz form. Here are the settings to make it a Quiz form. To find Quiz forms settings, navigate to – WordPress Admin Dashboard → weForms → Contact Forms → Open a form → Setting tab → Quiz.
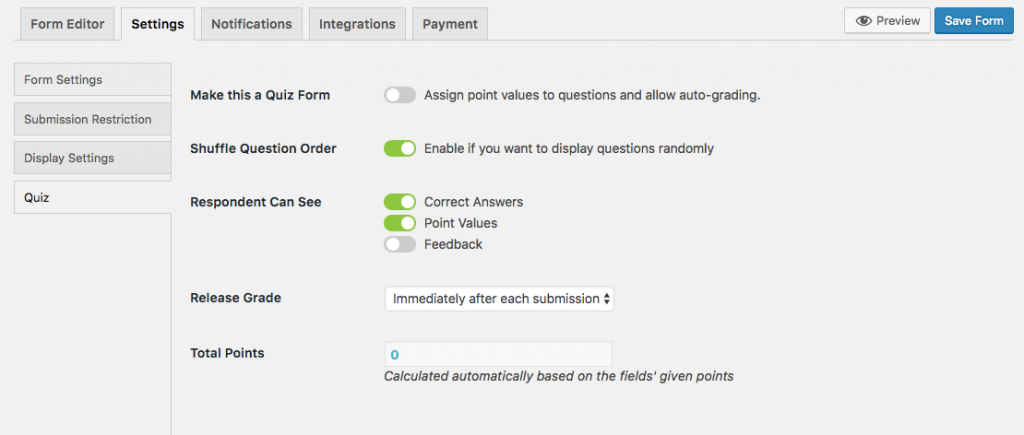
In the Quiz forms settings, you can enable/disable the settings like “Make this a Quiz Form”, “Shuffle Question Order” and “Respondent Can See” with a toggle button.
There are two more settings for a Quiz form.
- Release Grade: This is the release grade setting of the form that will either be released immediately after each submission or later after a manual review.
- Total Points: This the where you will be able to set the total point of the quiz forms that will automatically be calculated based on the fields given points.