How Does Happy Elementor Add-ons Help to Design Your Dream Blog
In these highly competitive days, people are changing their views towards blogging and its utilities. Because blog sites are becoming more popular and getting visitors day by day.
Yes, having a blogsite of yourself or your company can get the following benefits:
- Drive traffic to your website
- Increase your SEO/ SERP
- Position your brand as an industry leader
- Develop better customer relationships
Therefore, the importance of a well-designed blog site will not only increase your potential customers but also enlarge your brand reputation. So as a digital marketer, you must emphasize the design quality of your blog site.
But unfortunately, many amateur bloggers don't know well how to design a blog with a prominent designing look. Fortunately, if you're a WordPress user, then you can create any type of design with the page builder plugins available in the WordPress ecosystem.
Yes, we're talking about Elementor and Happy Addons. These two tremendous WordPress Page Builders will let you perform all types of designing activities with ease.
So, in today's article, we'll be showing how to design a blog using a page builder plugin. So, without further ado, let's get into the discussion:
Why Choose Happy Addons
Generally, using the Elementor page builder you may easily customize your blogsite or website. You may be curious, why we should use Happy Addons? Right? Yes, ‘Happy Addons' is a collection of wonderful widgets that works flawlessly with Elementor. That means you can employ Happy Addons to strengthen Elementor.
Check the following reasons why ‘Happy Addons‘ is appropriate to use in terms of designing blog sites or websites:
- Add plenty of sections as you need
- 400+ pre-made designs
- Floating Effect to animate any object with its bouncing feature
- CSS Transform to Skew, rotate any elements
- Cross-Domain Copy Paste
- The Impressive Collection of Addons
- 500+ line icon set
- Managing custom column width by adding Pixels
- And more
So these are the significant facts that you'll get after capitalizing Happy Addons. Next, we'll show how to design a blog with Elementor and Happy Addons. However, read this article on ‘Ultimate Addons to create a website‘
So let's get started:
How To Design a Blog with Elementor & Happy Addons

Creating a personal blog or portfolio with Elementor and Happy Addons becomes an easy task. As a beginner, you can employ these two elegant plugins for creating any design without applying a single code.
However, here we'll show how to create or design a portfolio website in a very simple way. So follow the step-by-step process till the end.
Before going to the discussion, let's check out the requirements that you'll need:
Requirements to Design a Blog Site With Happy Addons and Elementor
- WordPress
- Elementor
- Happy Addons
- Envato
So before employing these plugins be sure about the requirements that we recommended.
In today's post, we'll show how to design this type of Portfolio website.

Step 1: Adding a Header
Adding a header part on the website is the easiest part. Not only the header portion but you can also add the footer part using the Happy Addons Feature.
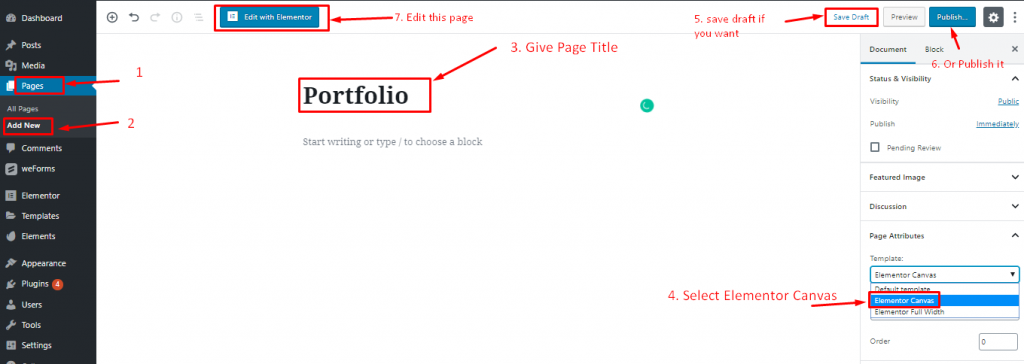
So all you have to do is go to your website's Dashboard > Pages > Add New Page > Give Title of the page > And Select Elementor Canvas > Then Click on Edit With Elementor > Publish it or save it as a draft.
Check the screenshot below:
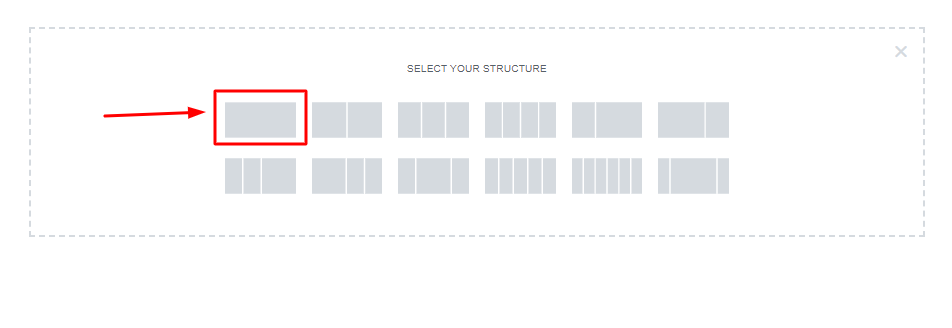
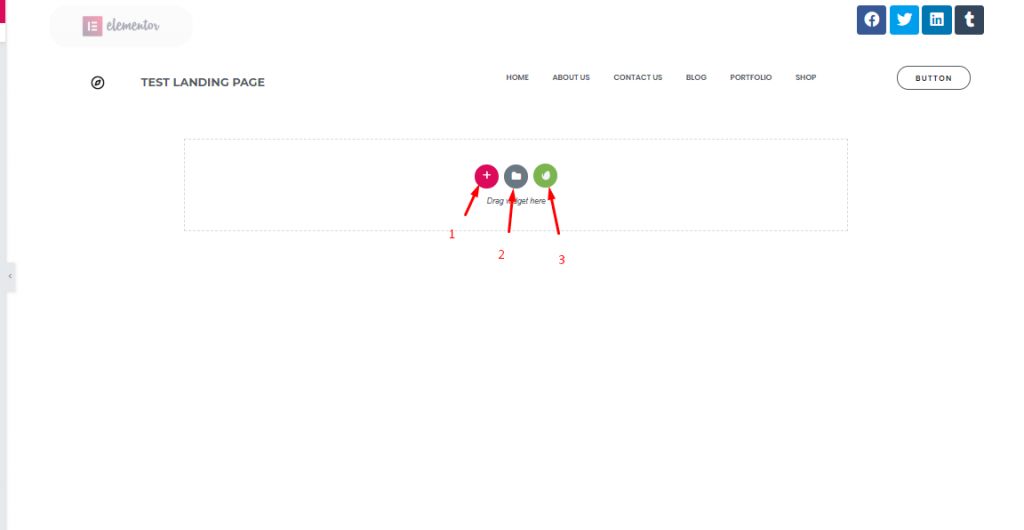
Next, you'll get a white Elementor default interface to put your all requirements. We all know that a website consists of different sections, Right? For example, the header part, hero banner part or slider part, contact part, and footer part.
In that case, you need sections. So in the white canvas, you can add as many sections as you want. In this page builder plugin, you'll get some built-in sections. Here, we selected the first one for this.
Next, you'll see many options to design your header part in the style part. To add a background in the header portion, click on the ‘Style' option. Here you can add background and customize it.
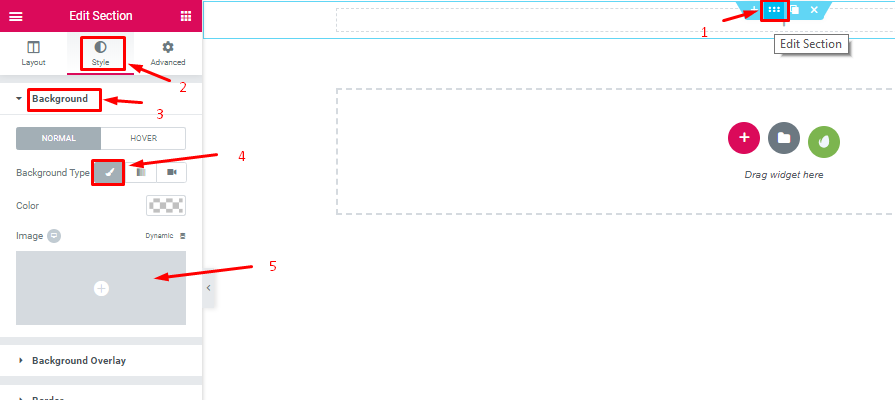
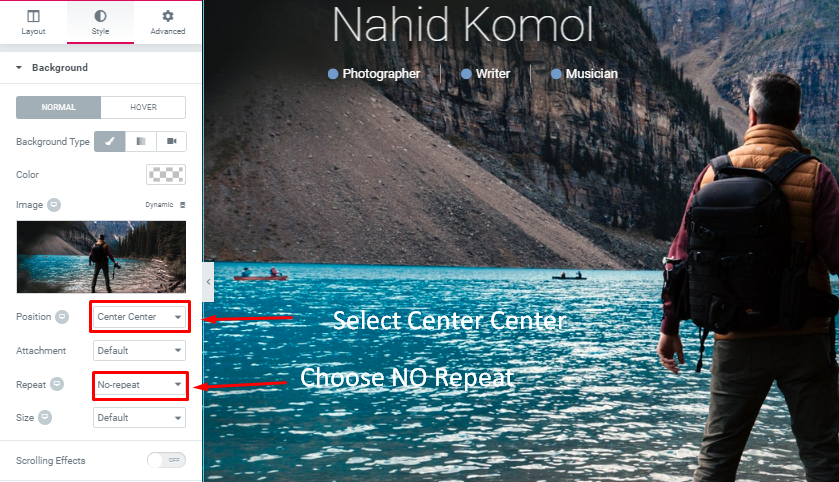
After adding a background, edit the following options. This will help you to get a view like the following screenshot.
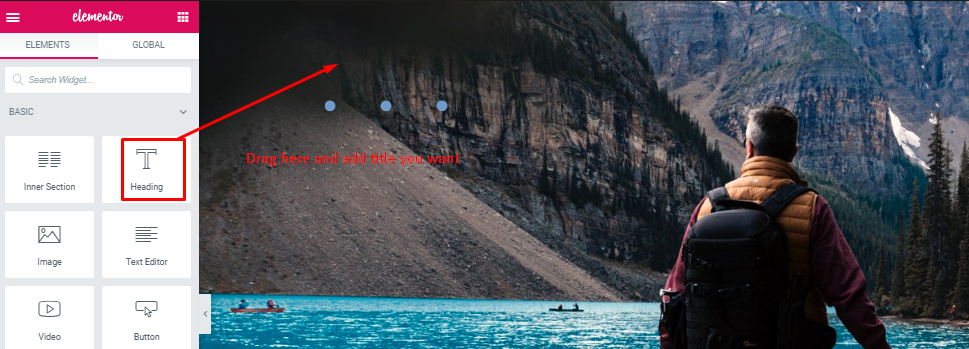
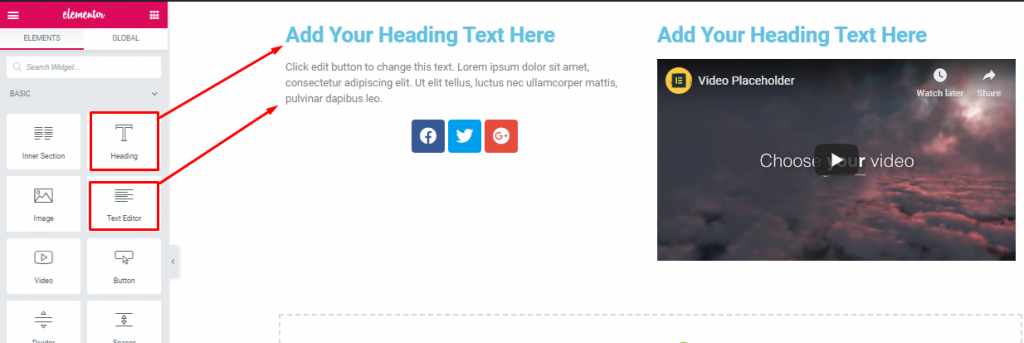
Next, you need to add a ‘Heading Text' at the top of the page. To do that, type the ‘Heading' widget and drag it to the selected area.
Then, if you want to add an icon like this. Then like before, type the ‘Icon Box‘ widget and drag it. That's it. ‘Style option' for all the widgets is the same. Here you can stylize your content, for example, padding, size, spacing, margin, etc.
Step 02: Adding Inner Sections
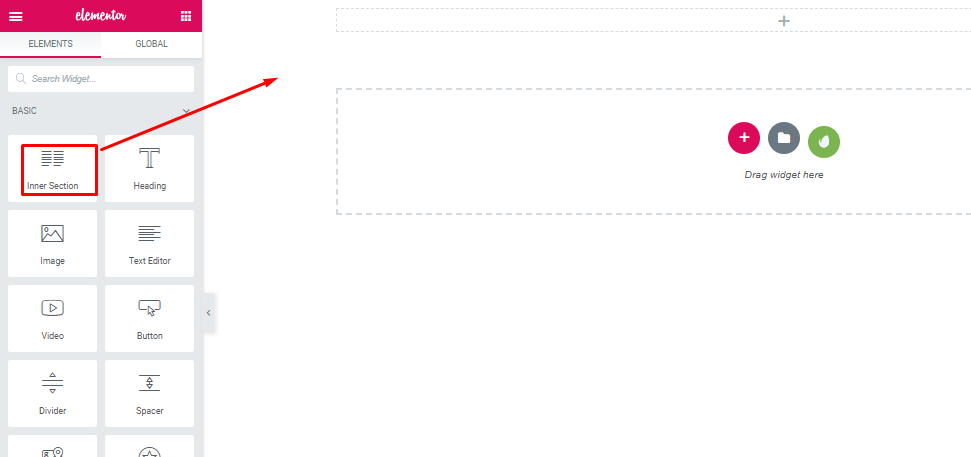
After adding the first portion, you need the rest of the part. So the ‘Inner Section' widget will let you do this. Just select the widget and drag it to the area. That's it.
After adding the inner section. You can add multiple sections inside the other sections. Isn't it awesome? Like you can add a title, description, social media icon, and also you'll have the option to add your service video if you want. So just type the widget that you want to add. Then drag it into the section area.
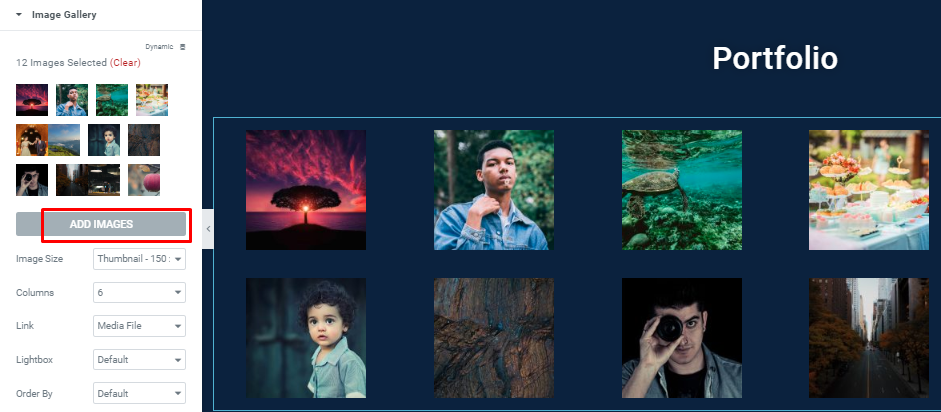
Step 03: Adding Gallery Images
Adding any widget into the inner section or any section is as similar as we discussed earlier. To add this, you'll get the ‘Images Gallery' widget to do this.
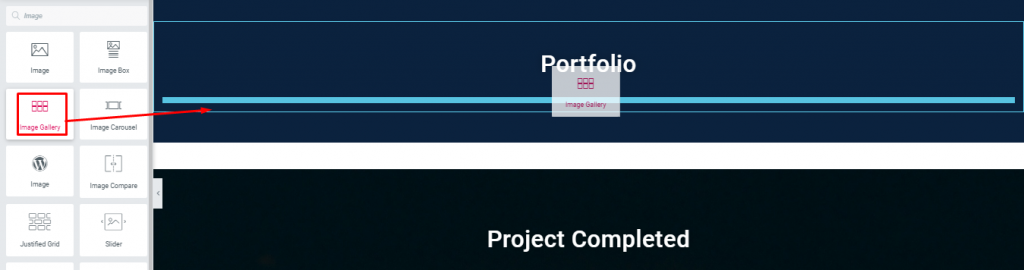
Here you'll get more options to add many images and also you'll be able to customize them suitably.
Step 04: Adding Counter Widget
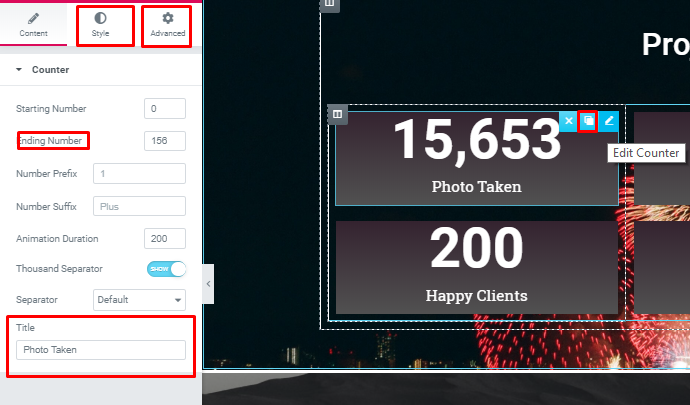
This widget has awesome features. Counter Widget will help you to showcase your projects by numbers. To do this, click on the ‘Counter Widget' and then just drag it to the section. That's it.
As mentioned already, you just need to customize them by Size, padding, margin, font, color, and text, etc.
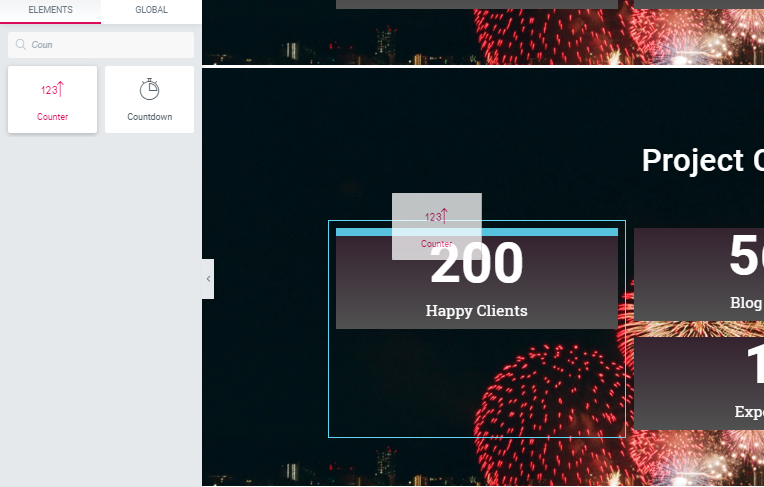
So in this way, you can add your projects with the ‘Counter Widget‘. As you can see on the left side of the screen, there are options to customize. To make it splendid, you can do more with it. For example, giving a background behind the section, stylizing text, text color, and more.
Step 5: Adding Contact Form
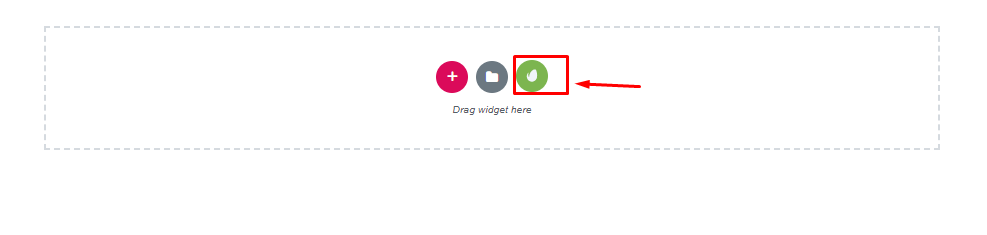
The ‘contact form' is an essential part of any website. Because it helps to get customer information thus it creates customer leads. So if you want to add a contact form. Just follow the steps.
Click on the ‘Green' button. Then you'll get unlimited in-built themes, banners, photos, header, footer, and more.
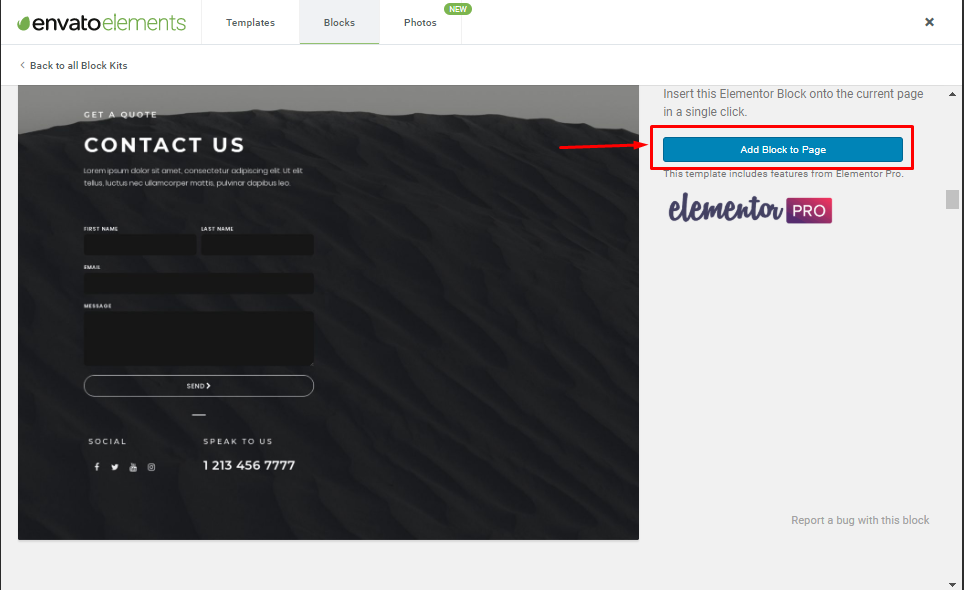
Select any templates for the contact form. Here we have selected this one. So you just need to click on ‘Add Block to Page'. Automatically it'll appear on your page.
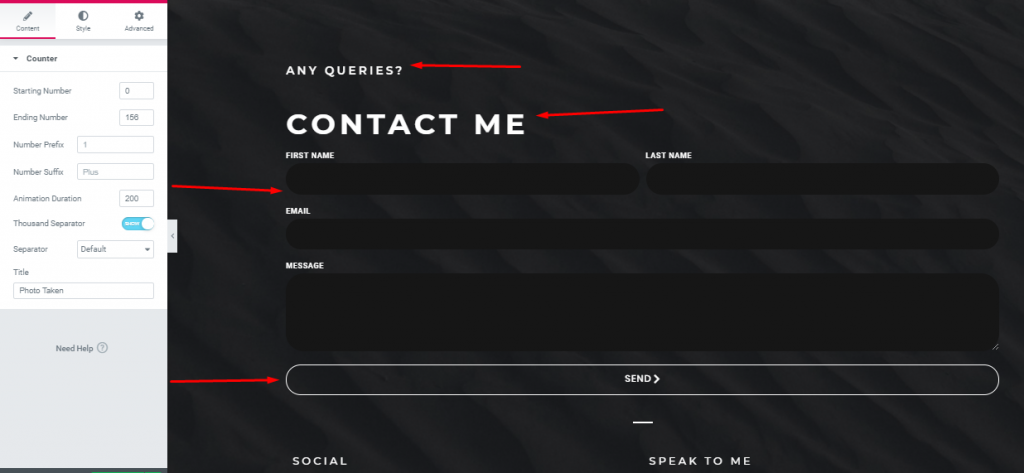
After adding the ‘Contact Form‘ from Envato, you'll be able to edit or customize its content, style and also able to customize it with the ‘Advance' section.
Conclusion
So these are the steps that'll help you to design a whole blog or portfolio. For your better understanding read this article on ‘How to Create a photography website‘. This blog will also enlarge your ideas about this tutorial.
How to Design a Business Website with Elementor & Happy Addons

In a simple sense, all the business websites mostly depend on their perspective landing pages. The reason is, landing pages display each and every information or service of the company shortly. Thus customers come to this page and perform their activities. For this reason, the significance of having a landing page is very important, especially if you have a WordPress site.
A landing page is a specific web page, created precisely for a marketing or advertising campaign.
For instance, you should give proper time to the landing page design of your website. You may see lots of landing page examples available on Google which are high converting.
Though there are already a lot of landing page builder plugins available in the WordPress platform, Elementor along with ‘Happy addons' has changed the era of WordPress development.
So, in this section, we'll show how you can implement Elementor and Happy Addons to build a business website yet a landing page. Without further ado, let's get started.
Requirements to Design a Business Website
- Same as the earlier section (WordPress, Elementor, Happy Addons, A Theme, etc.)
Step 1: Adding a Page
We have already mentioned earlier how to add a page and start with Elementor. Right? In this case, we're skipping this portion. Because in the first tutorial we showed how to create a page, header, and installation process. So let assume that you have already created a web page. And able to go on the Elementor Interface.
So after finishing the requirements, you'll get into this page. Here you'll see three options. The first two options are in-built and the 3rd one is Envato elements.
Check this article on How to create an Envato marketplace.
Step 2: Selecting Template
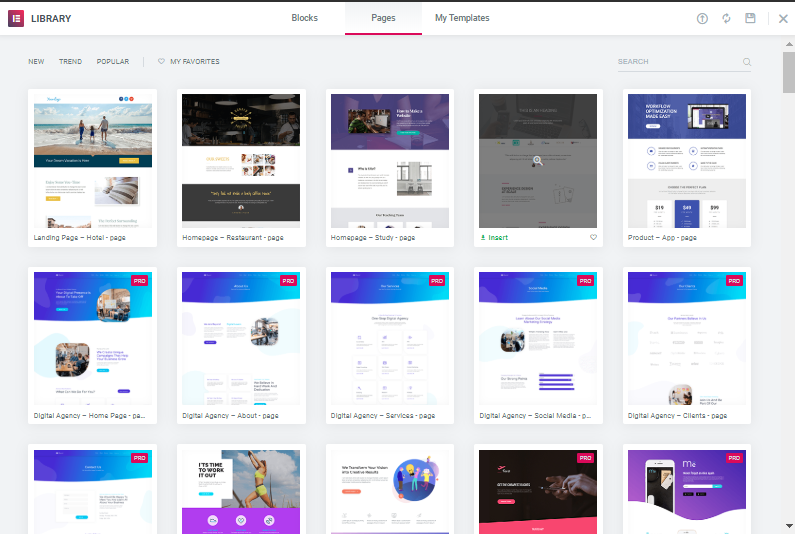
You're going to create a landing page, for instance, you'll need a template. So you can get unlimited templates, photos, and blocks that are available in Elementor. But using ‘Envato Elements', you'll get the same facilities.
To select the template, click on the ‘Green Icon‘. Here you'll see lots of built-in templates.
Then any of these templates from the list.
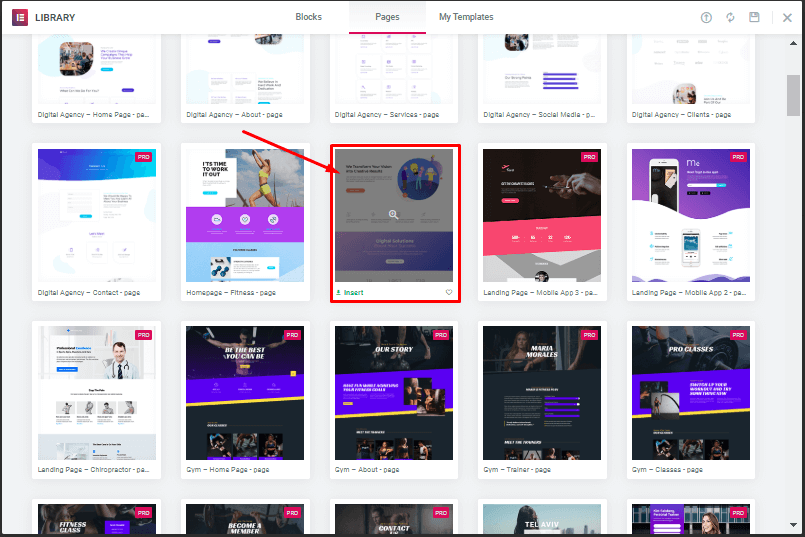
After that, just select ‘Insert Button‘. Then it'll automatically appear on your page.

Note: You can add an individual portions to your landing page instead of adding a full in-built landing page.
Step 3: Adding a Footer
For your information, in-built landing pages don't have a header or footer part. So you have to create a header or footer on your own or you can use the default header or footer.
To do that, select the ‘Red Plus' button. Or you can choose Envato if you want.
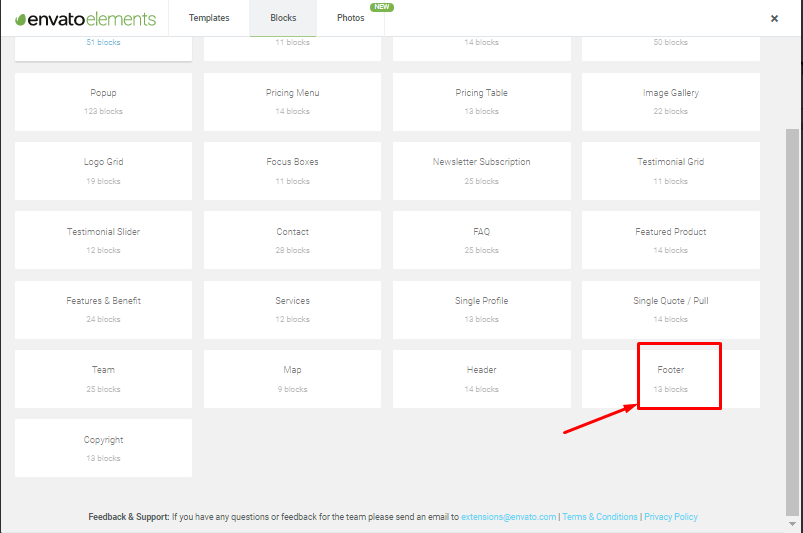
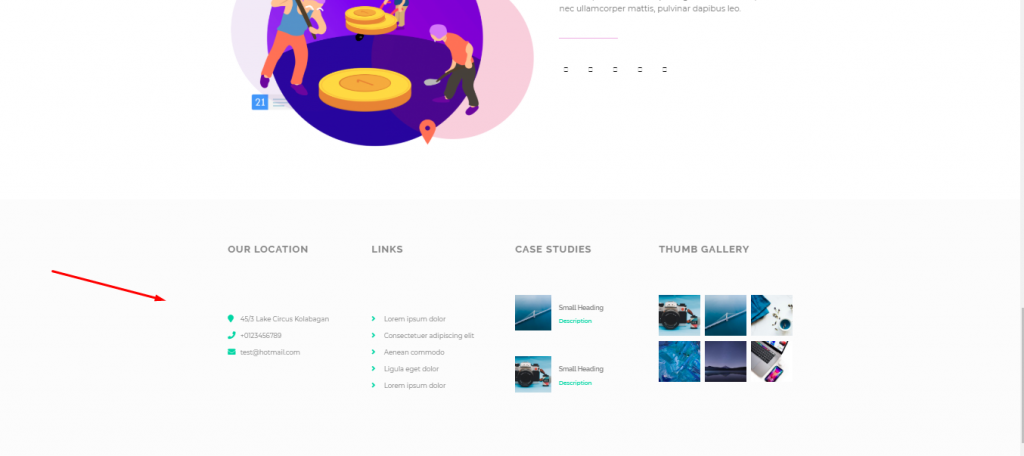
You'll see footers with different styles. So just pick one of them.
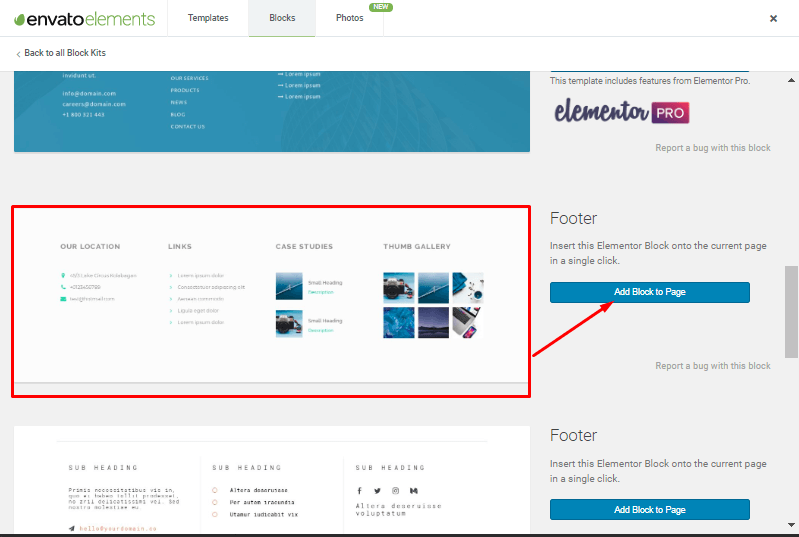
It'll just appear under the previous section. That's it.
Conclusion
So by following this way you can manage to build a landing page for your business. We tried to show the simplest way so that you can employ it more smoothly. Therefore, to get more potential customers and leads, the connotation of a landing page is beyond question.
Final Verdict
A wise decision at the right moment is very crucial. And, if you're a business owner then it's the foremost thing for you. We hope you have got something useful from this step-by-step guide.
Having a website along with showcasing products to the world, you must design your website's landing page according to your product category and types.
If you don't have a design yet, this is the right time to choose a fruitful landing page builder or Website page builder. Especially if you're using the WordPress platform. However, if you have anything to share or ask, feel free to share it in the comment section.